How to Iron Perler Beads: The Ultimate Flat Melt Guide
Learn how to iron Perler beads perfectly with our step-by-step guide. Master the 'Flat Melt' technique for a smooth, hole-free finish.
Start from this guide
Open the editor to make a pattern now, or pick a public pattern to practice the workflow.
The Professional's Guide: How to Iron Perler Beads Correctly
Mastering how to iron perler beads is the difference between a fragile mess and a durable piece of pixel art. While the design process is fun, the ironing stage is where the magic happens.
Achieving the "flat melt" finish provides a smooth, completely pixelated appearance, distinguishing it from the standard melt where the bead holes remain visible. This guide on ironing perler beads requires patience, control, and precise cooling steps to prevent warping and ensure a hole-free, smooth result.
Essential Materials for Ironing Perler Beads
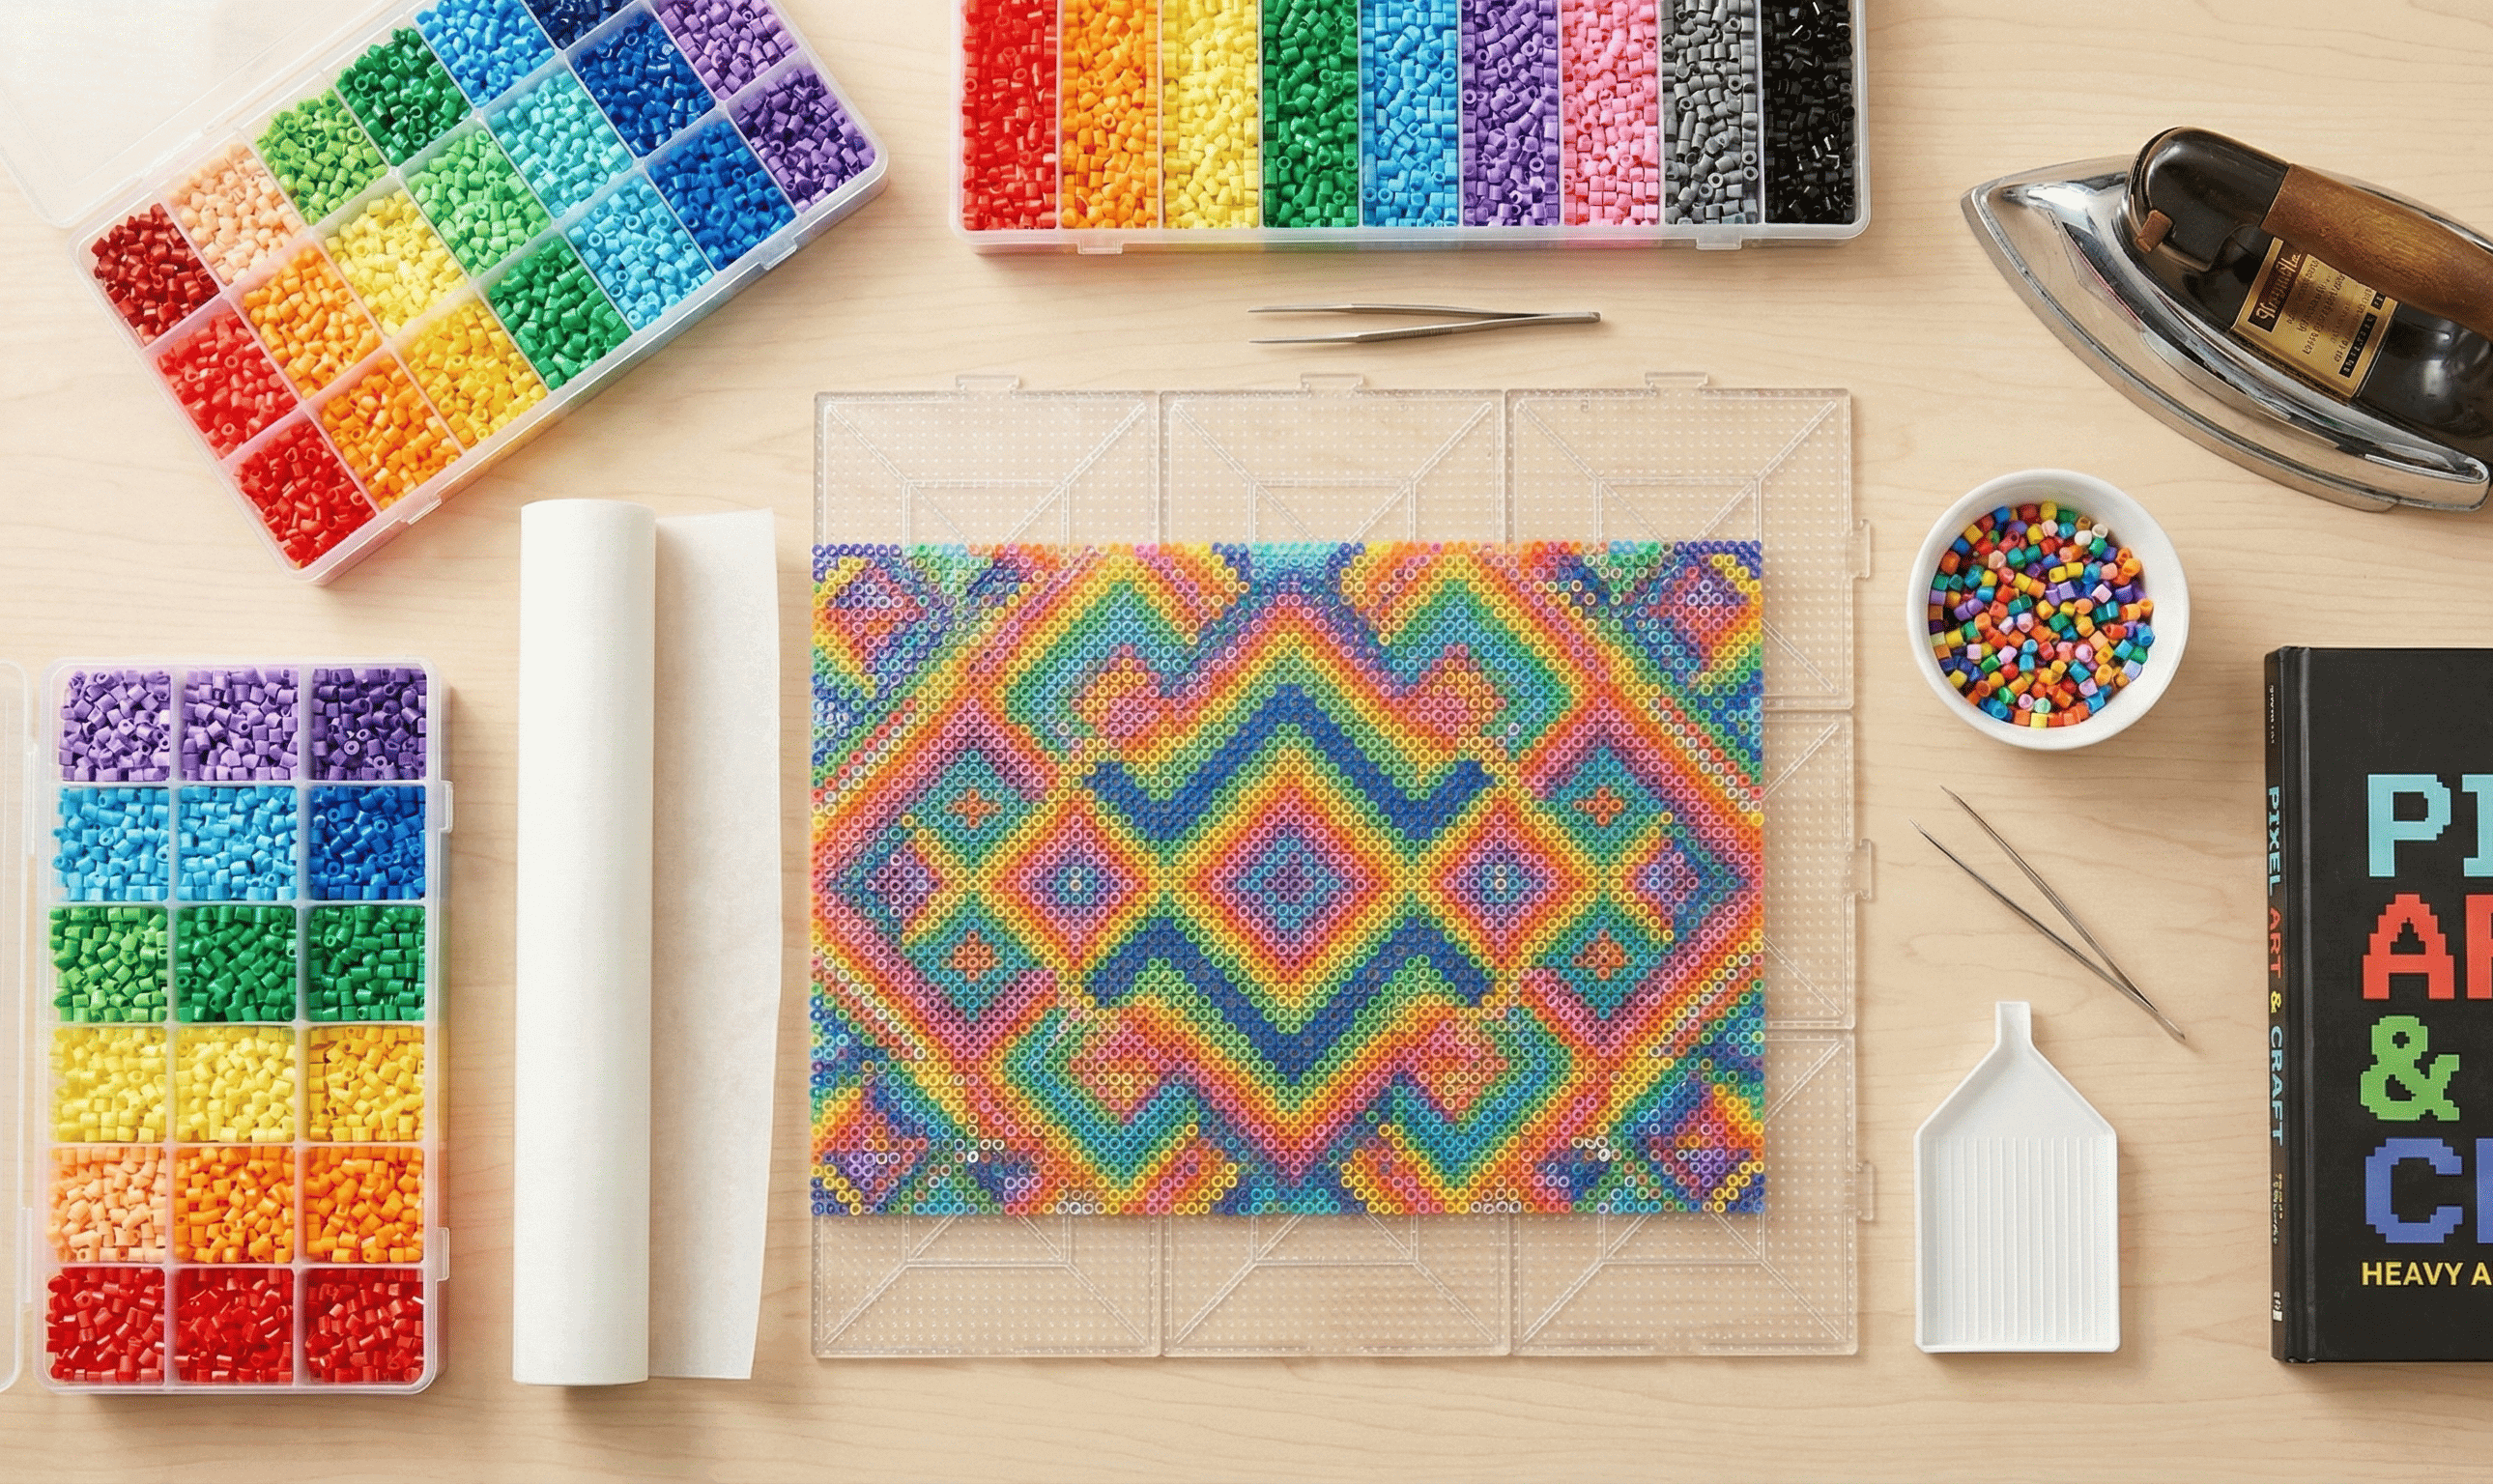
- Beads and Pegboard(s)
- Iron (A standard household iron works, but an Easy Press Mini or larger press is often recommended for more even heating)
- Ironing Paper or Parchment Paper (Reynolds parchment paper is specifically mentioned)
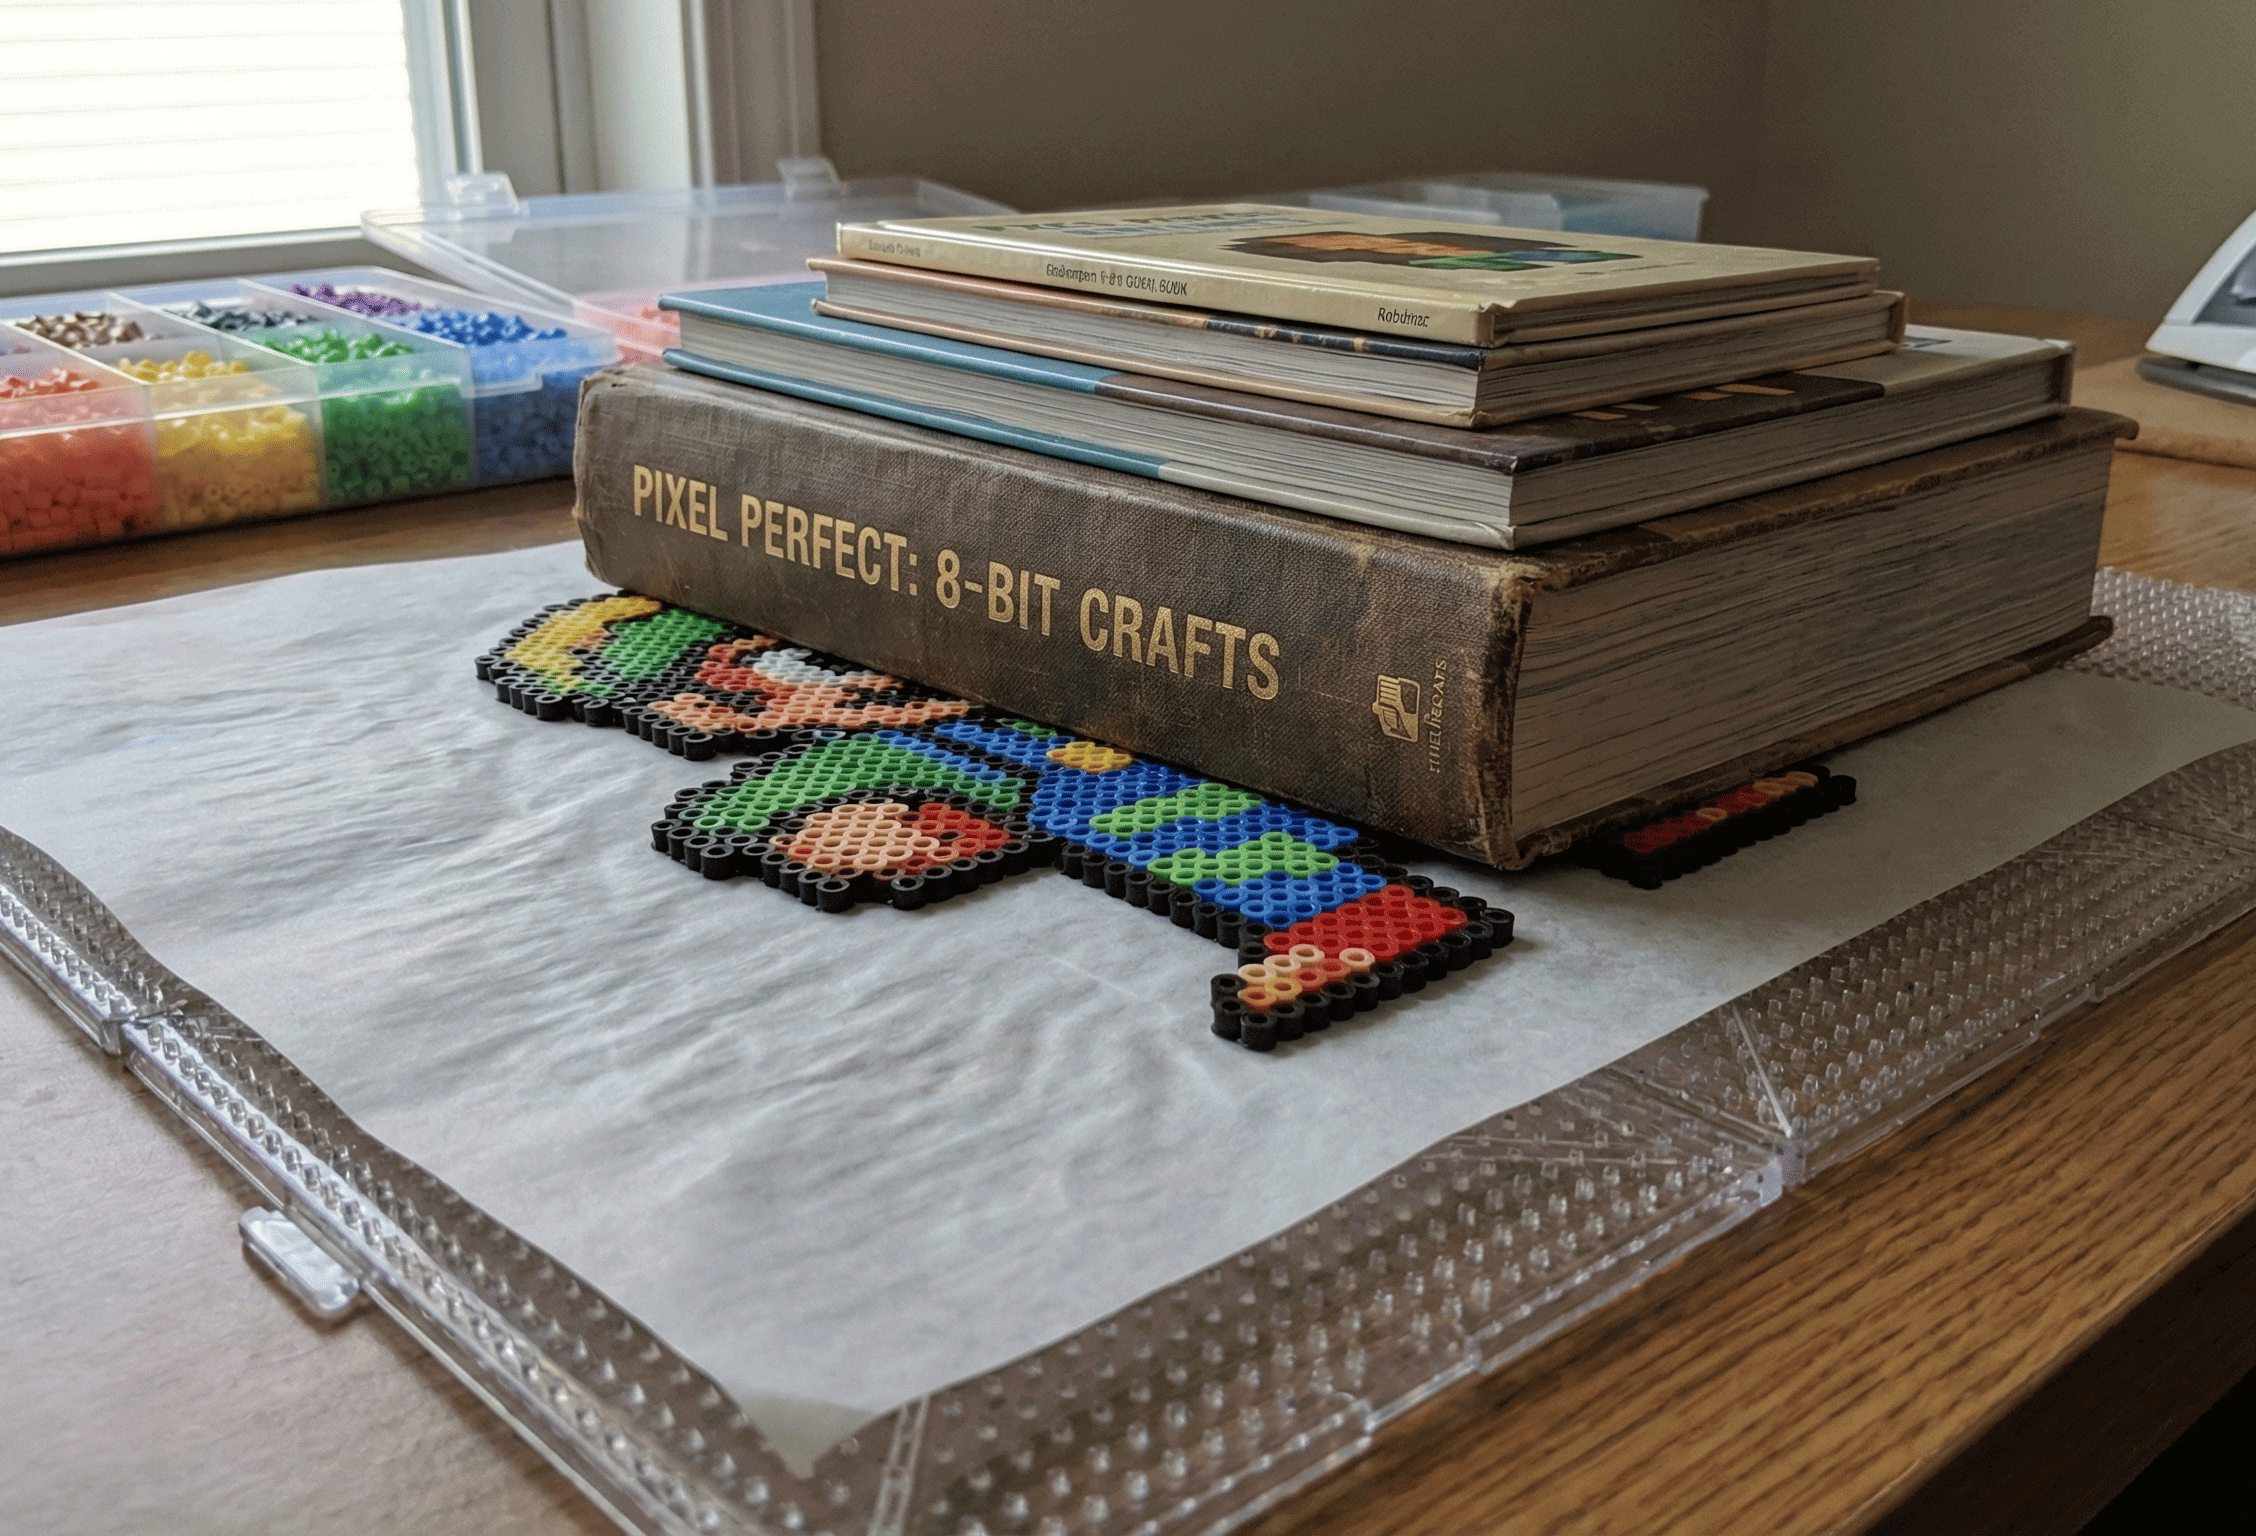
- Heavy object (e.g., a heavy book or box)
Step 1: Preparation and Heat Settings
- Set Up: Place your beads on the pegboard on a flat, heat-safe surface.
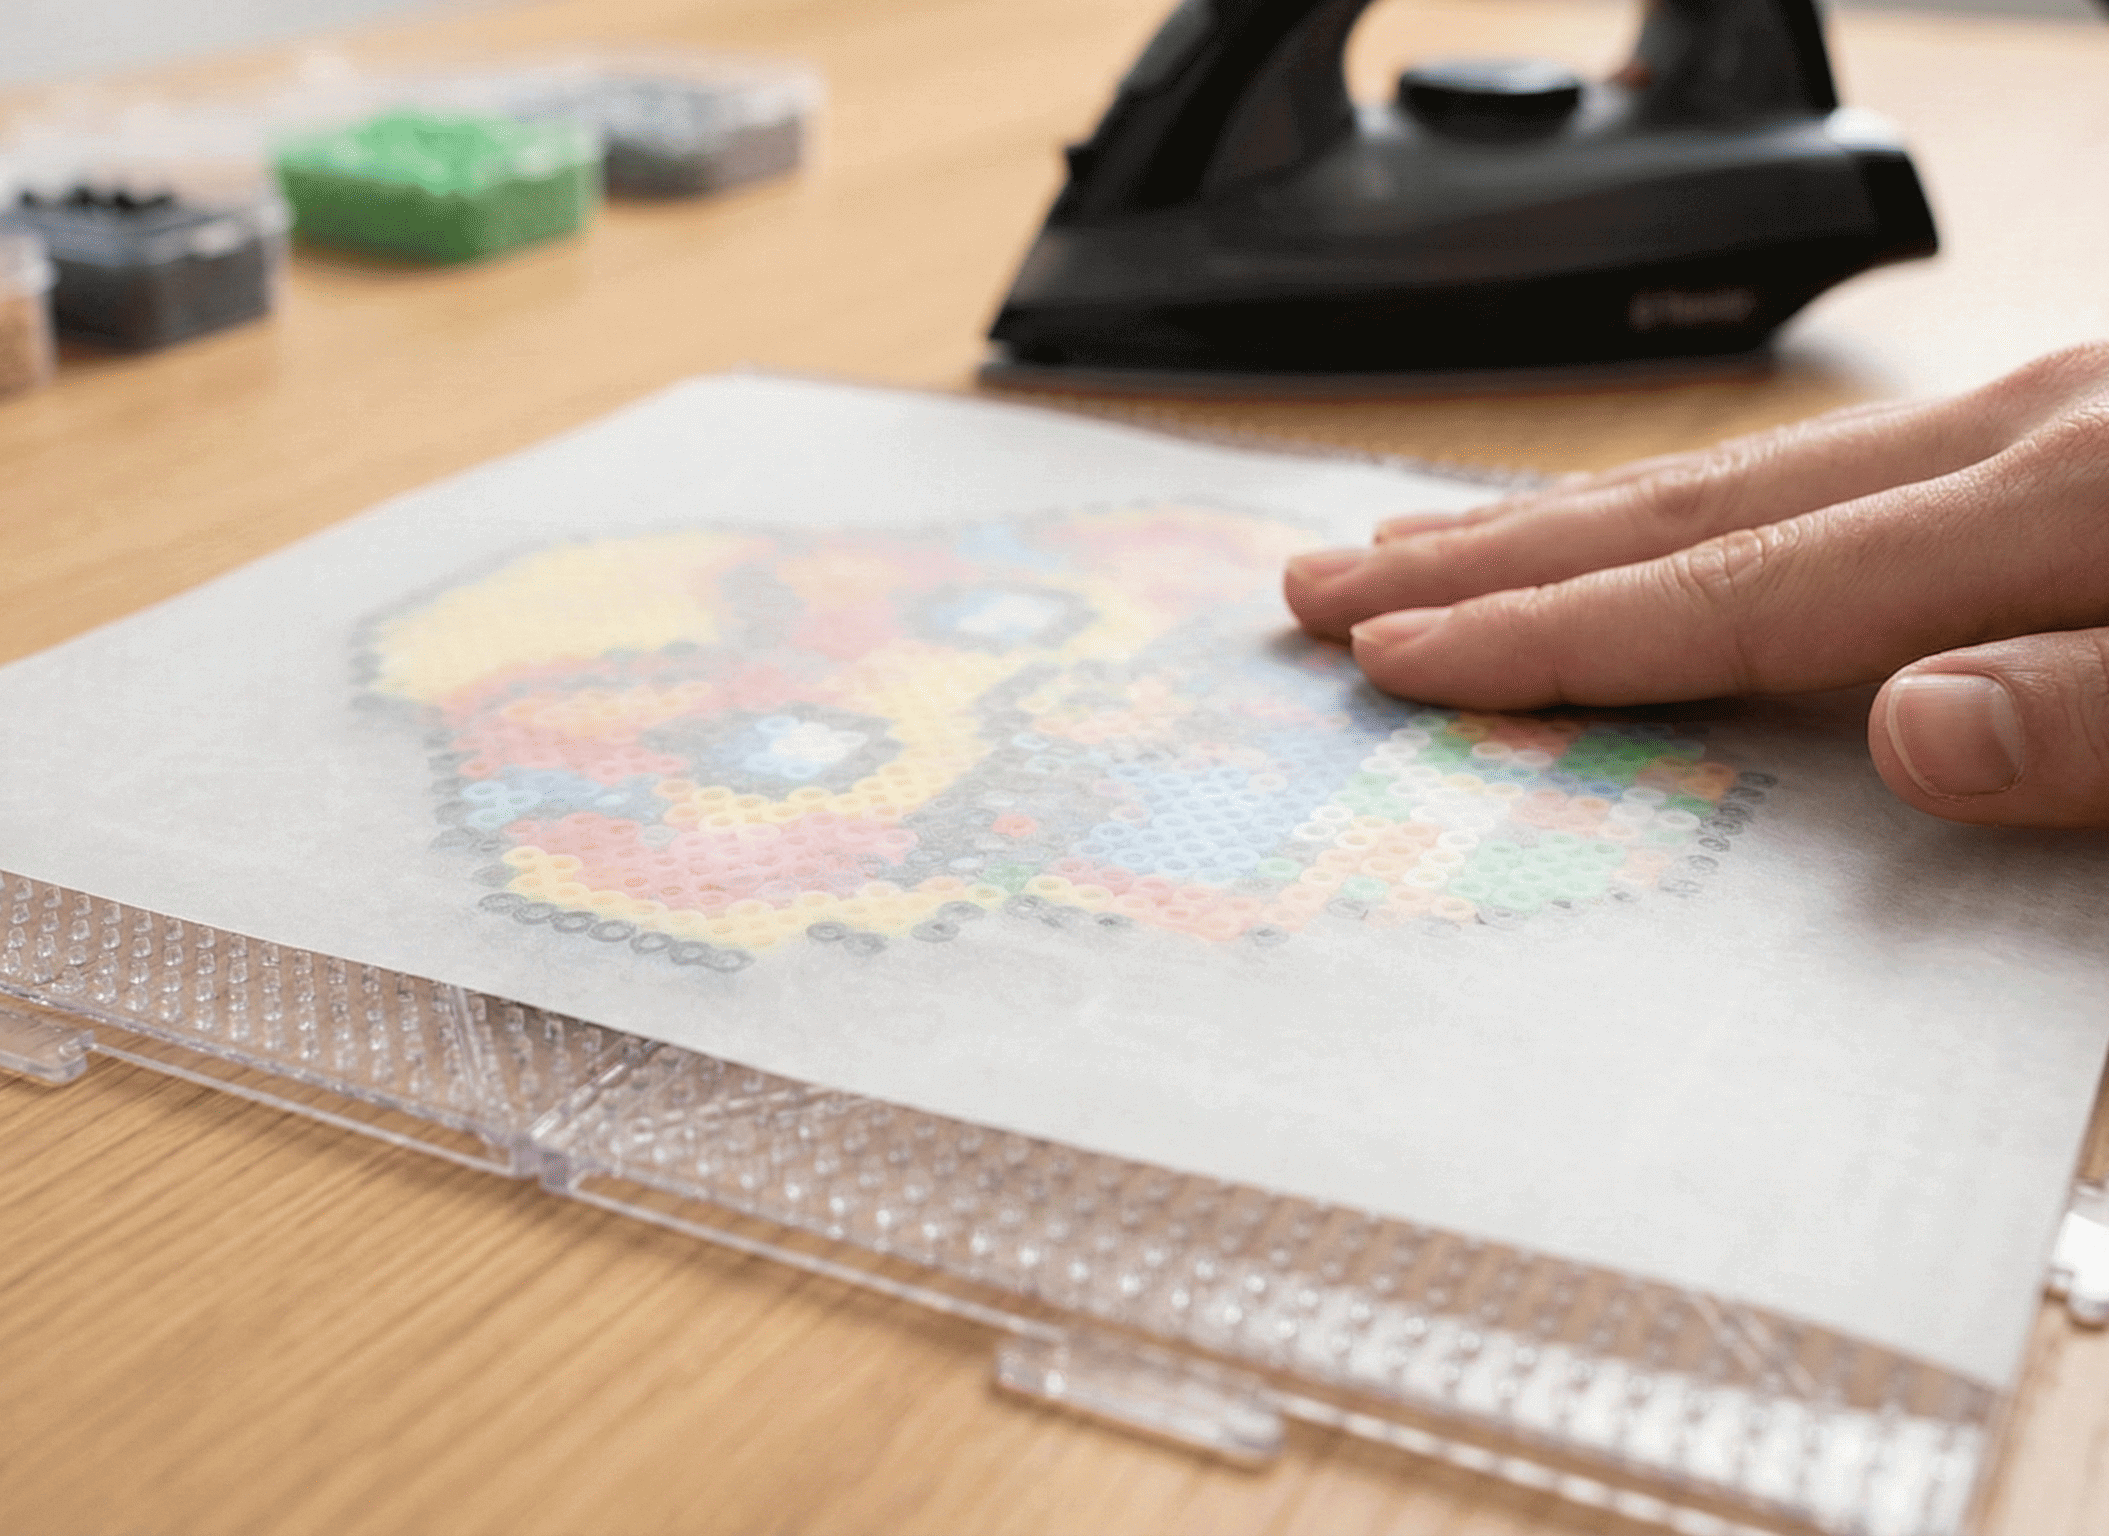
- Paper Placement: Cover the project with ironing paper or parchment paper. Make sure the paper is smooth and does not have lines or creases where you plan to iron, as creases can leave visible marks on the finished piece.
- Choose Your Temperature: A common question is "what setting to iron perler beads?". For the best results, use low heat over a longer period of time. Although some suggest a medium-high setting, lowering the heat gives you more control when learning how to iron perler beads. For larger projects, use the "low and slow" approach.
- Preheat: It is crucial that your iron is fully heated before you begin the ironing process.
Step 2: The Ironing Process (Slow and Steady)
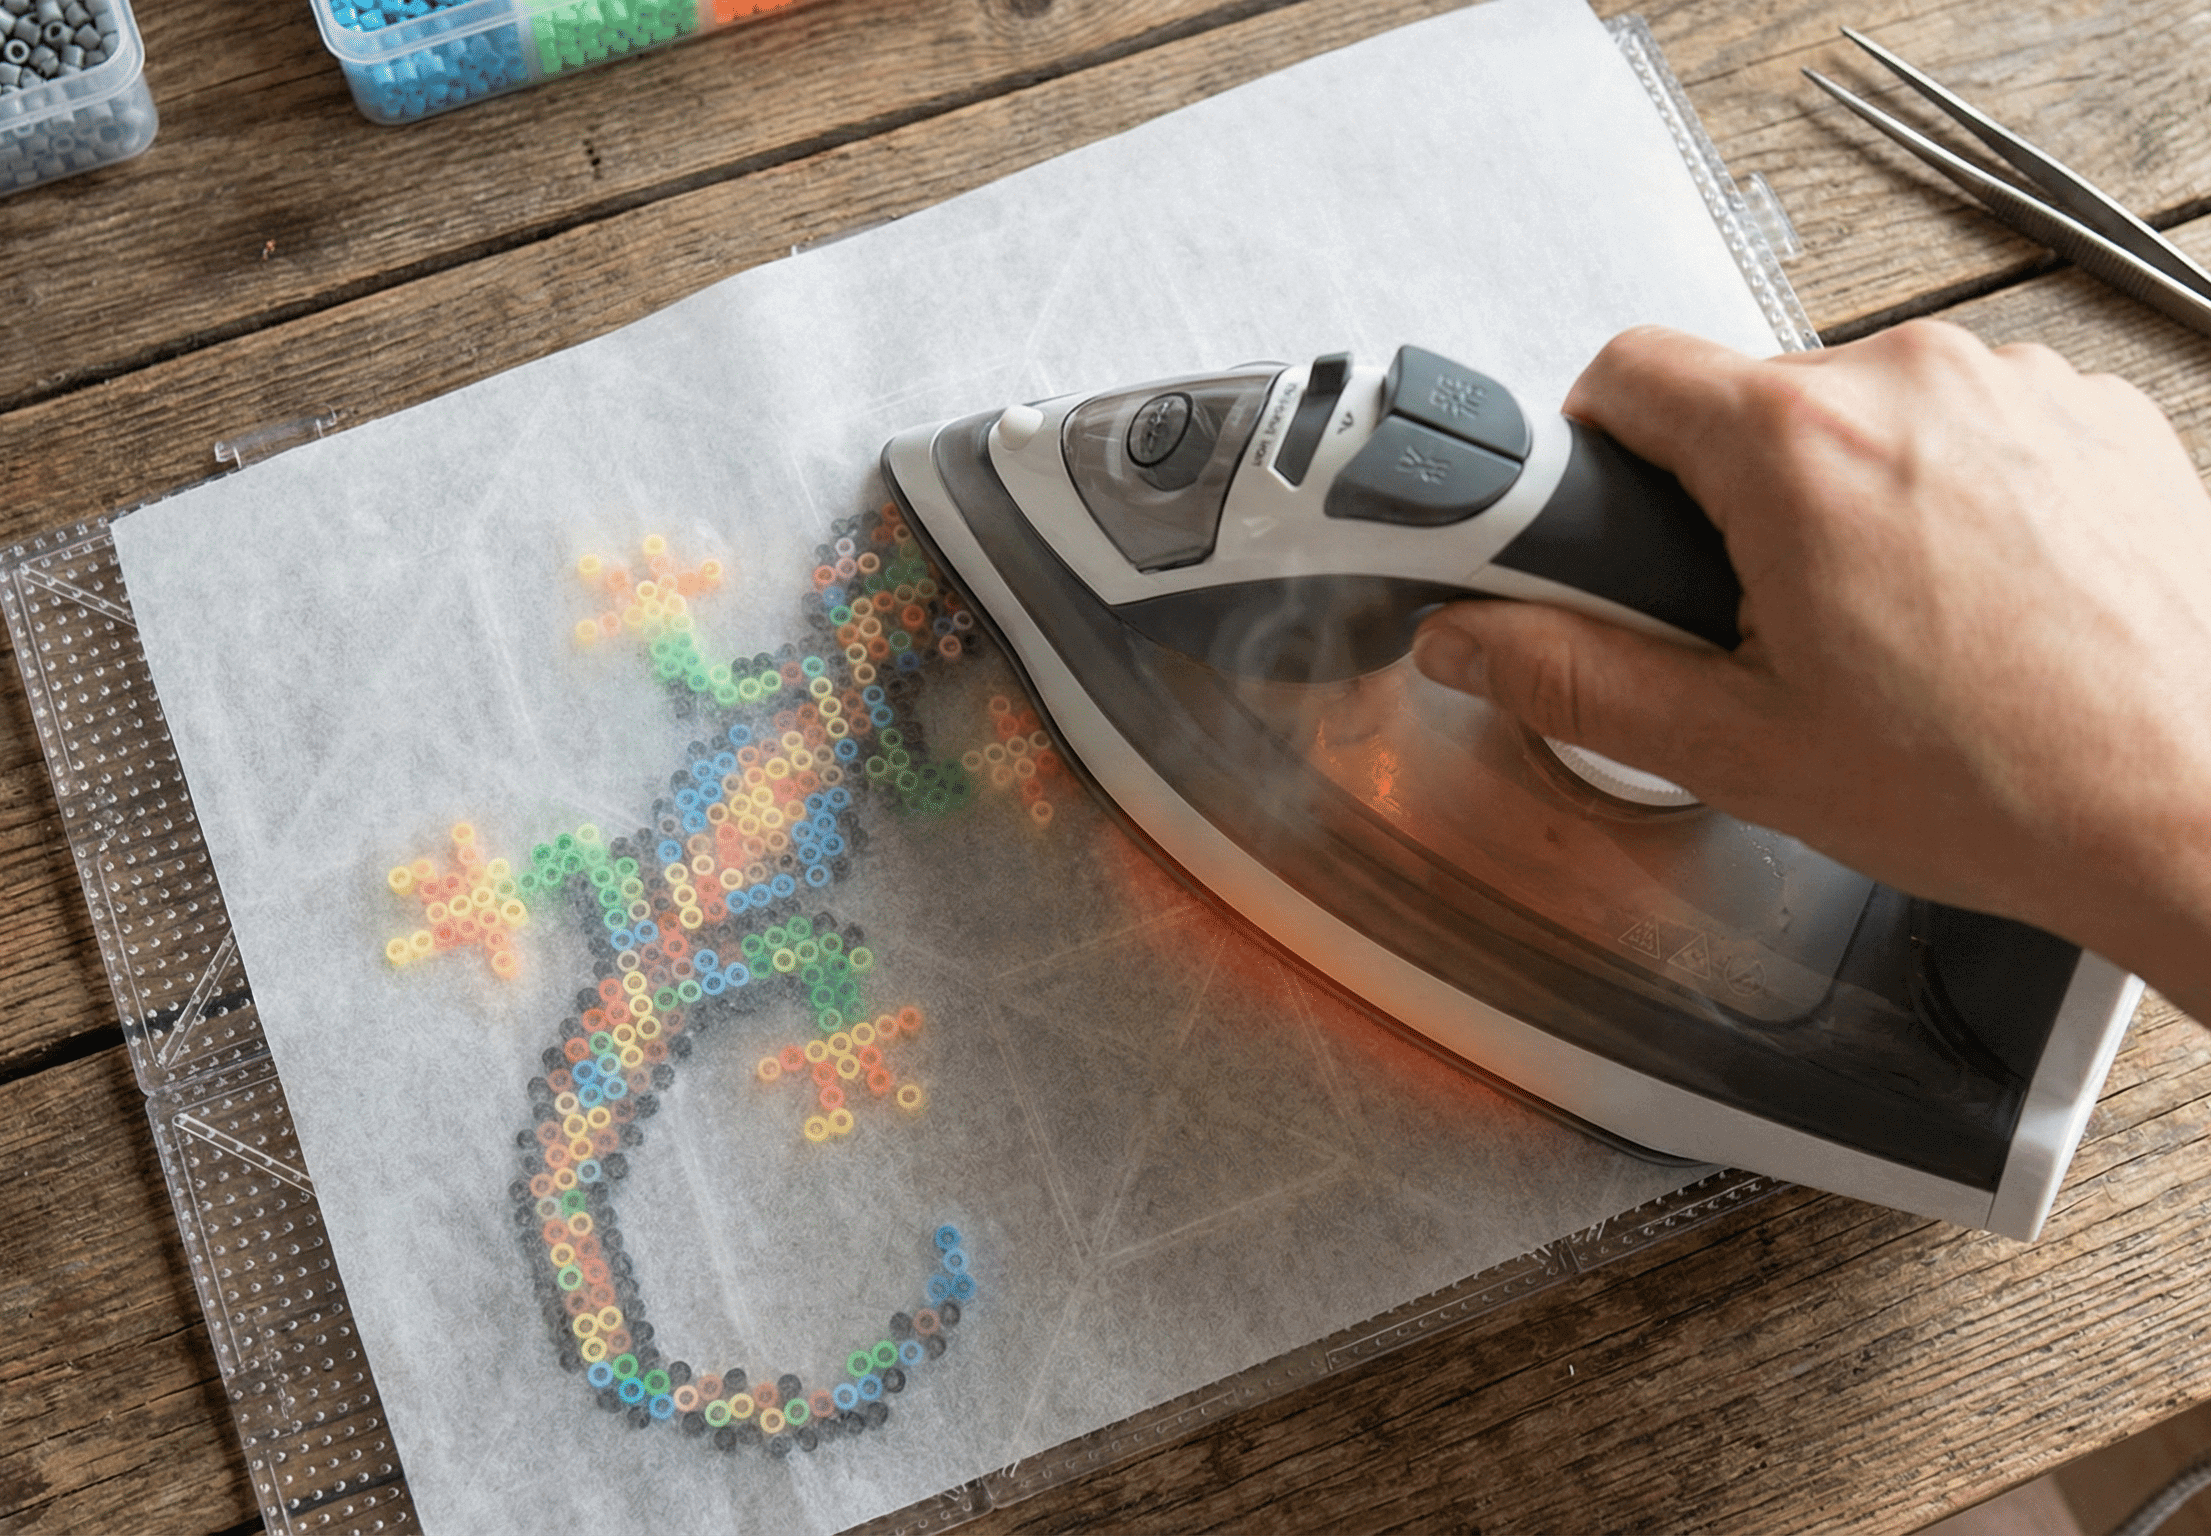
- Movement is Key: When ironing perler beads, always keep the iron moving slowly in a circular motion across the entire project. This ensures an even melt and avoids overheating any specific section.
- Pressure Control: Avoid applying too much pressure. You should not use any downward pressure on the iron, nor should you dig the tip of the iron into the beads. Too much pressure risks melting and warping your pegboard.
- Initial Fusion: Resist the urge to lift the iron until every bead has started to melt and fuse together. If you lift the iron too early, heated chunks may stick to the paper and lift the rest of the unmelted project, potentially causing deformation.
- Focus on One Side: For flat melts, it is generally recommended to iron only one side. You can heavily fuse one side (the front) and leave the other side untouched.
Step 3: Achieving the Flat Melt Finish
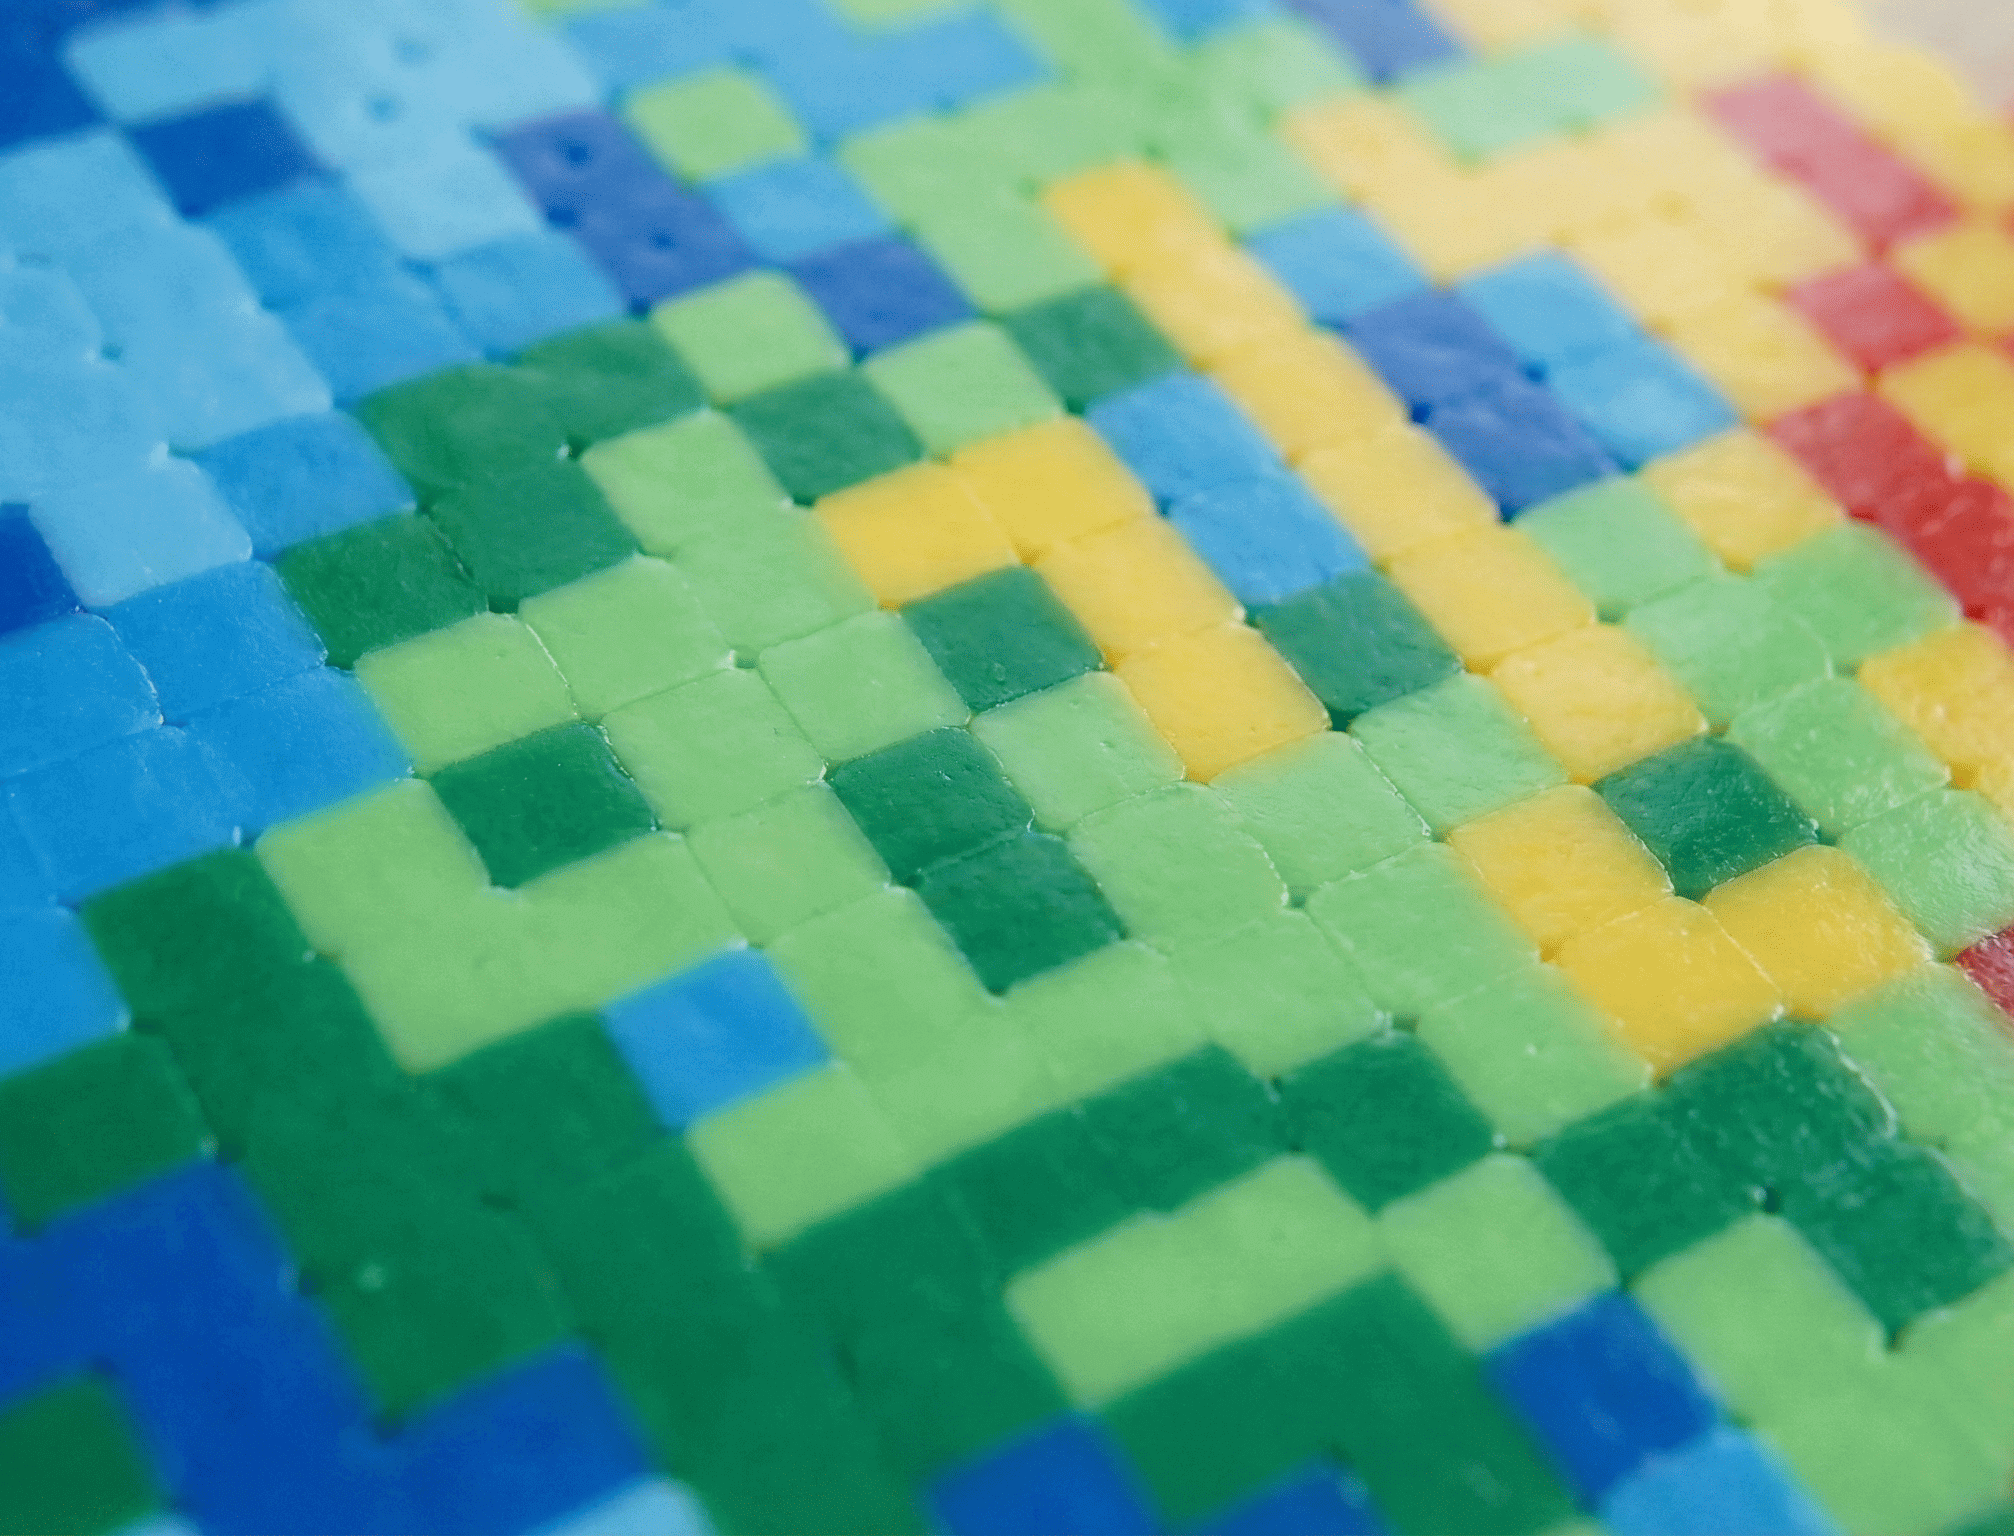
- Monitor Progress: As you continue ironing, you will see the beads "bleed" through the paper and the original bead circles will become smaller.
- Continue Ironing: Continue the slow, circular motion until the holes either close entirely or are extremely tiny.
- Duration: The longer you melt the beads, the thinner your finished piece will be. Keep moving the iron, doing multiple passes, and even allowing the beads to cool completely between passes if necessary.
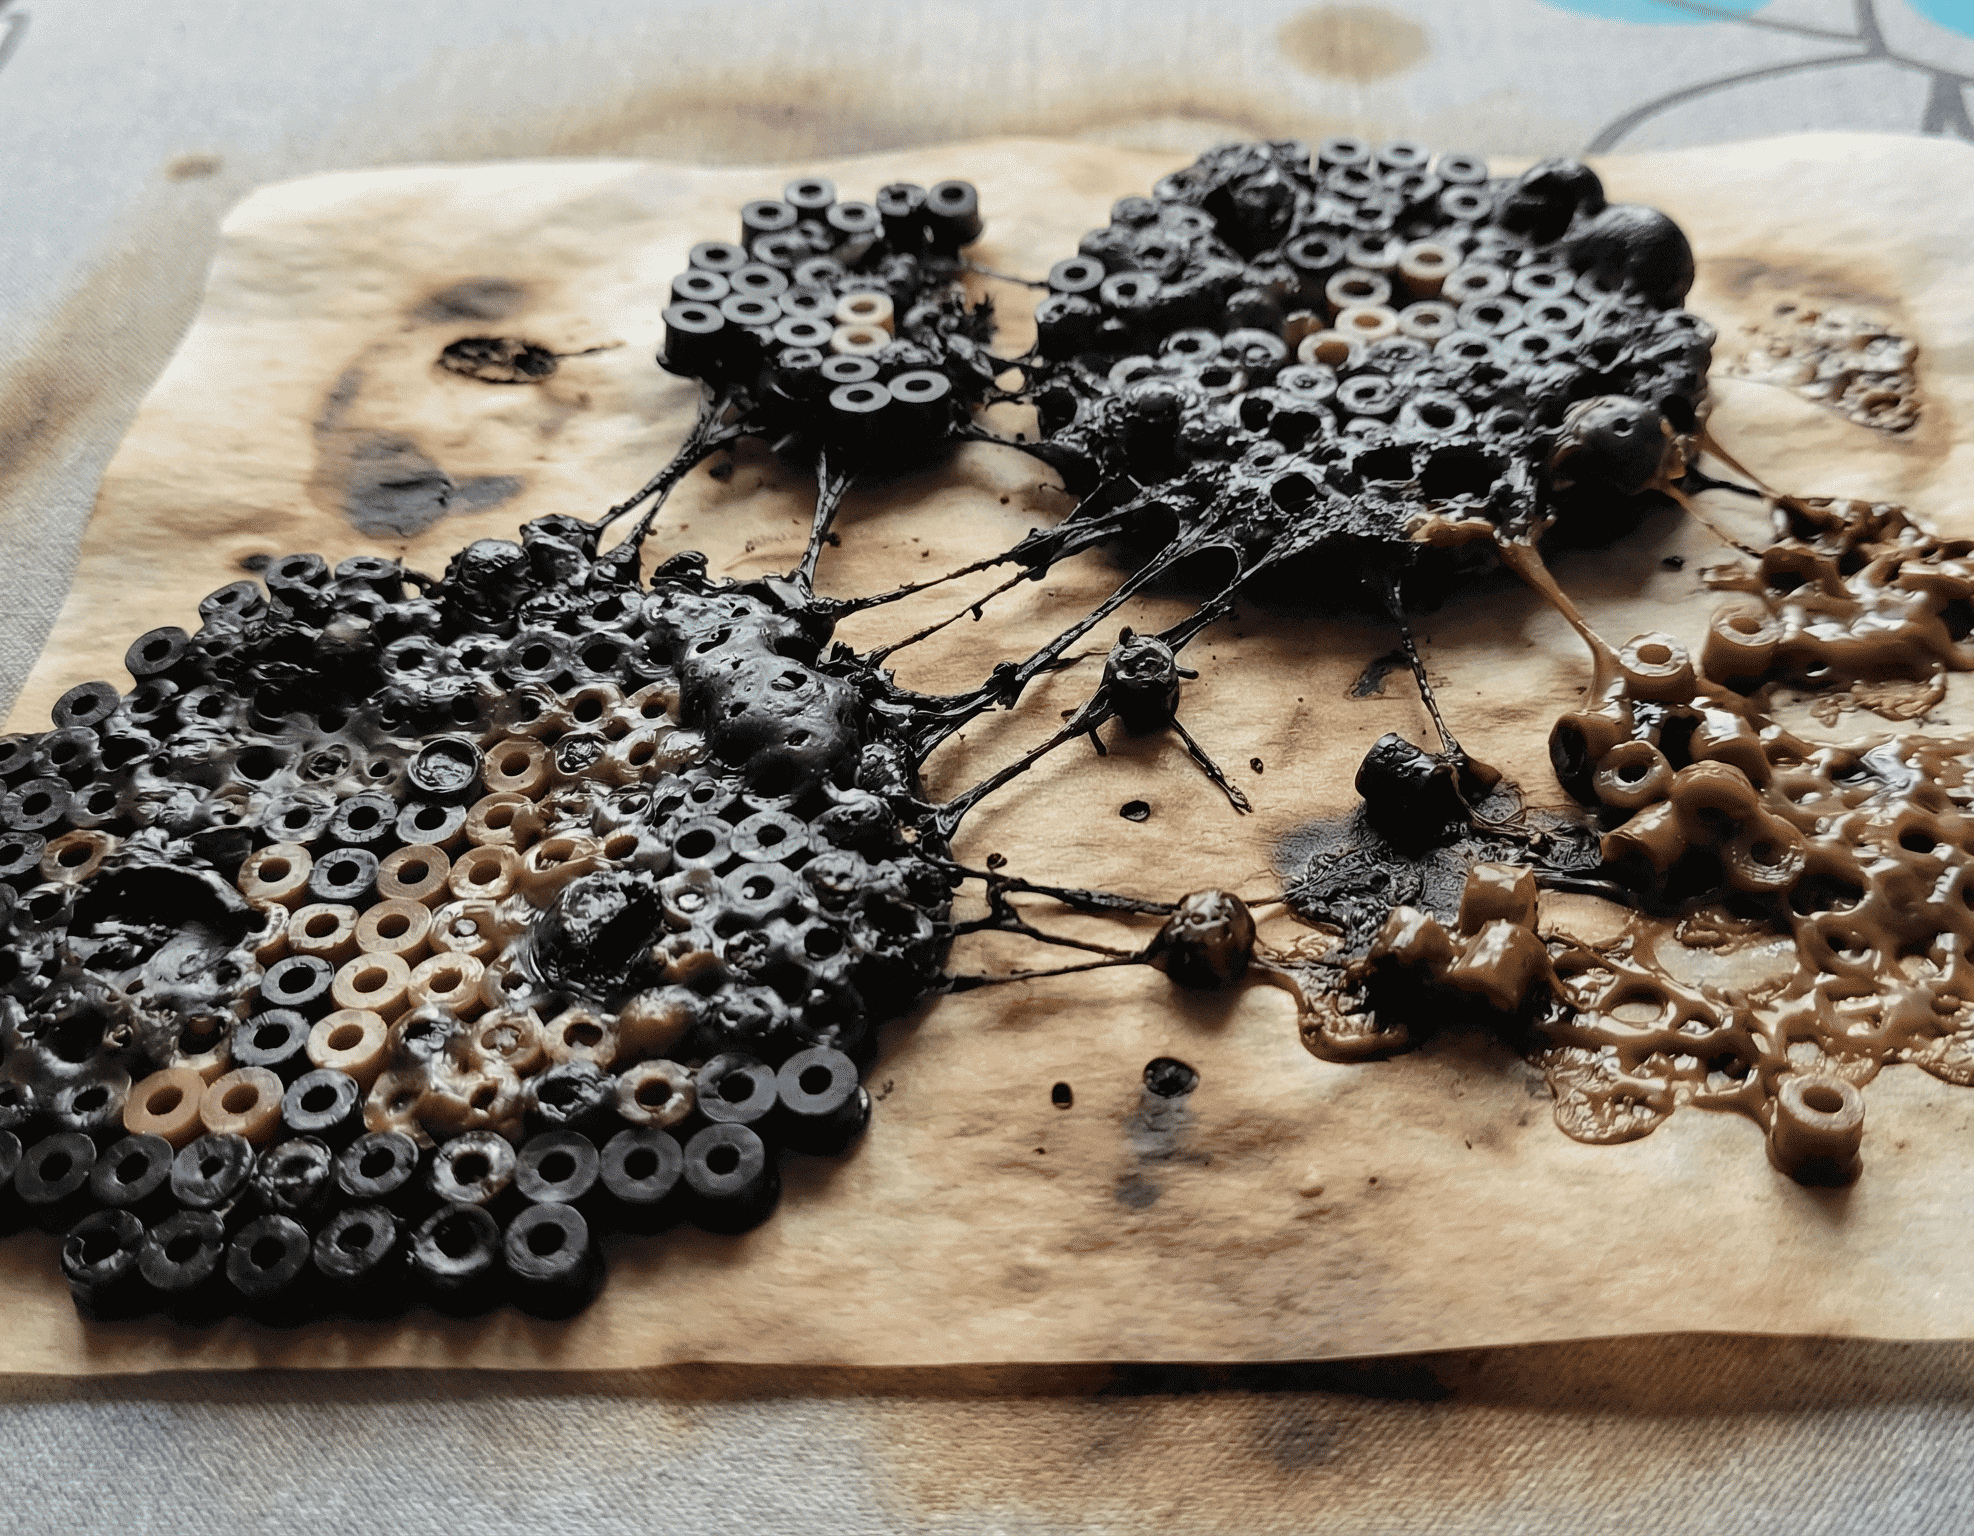
- Caution: Be extremely careful not to over melt the piece, as this runs the risk of the beads exploding and deforming. Note that different colors fuse at different rates.
Step 4: Cooling and Flattening (Crucial for Flat Beads)
This step is essential to achieving a flat result and is often overlooked in other guides on how to iron perler beads.
- Wait to Cool: Once you are done ironing, do not immediately place a heavy object on the piece. If the beads are hot enough to still be liquidy, slapping a book on them will smear the melt.
- Initial Cool-Down: Let the piece cool for about 30 seconds to a minute, until you start to see the parchment paper naturally separating from the piece.
- Apply Weight: Once this initial cooling period is over, place a heavy object (such as a book or heavy box) on top of the piece (with the parchment paper still attached) to keep it flat.
- Final Peel: Allow the piece to cool completely under the weight for 10–15 minutes before peeling off the parchment paper. Leaving the paper on while it cools can also help prevent unwanted shiny spots.
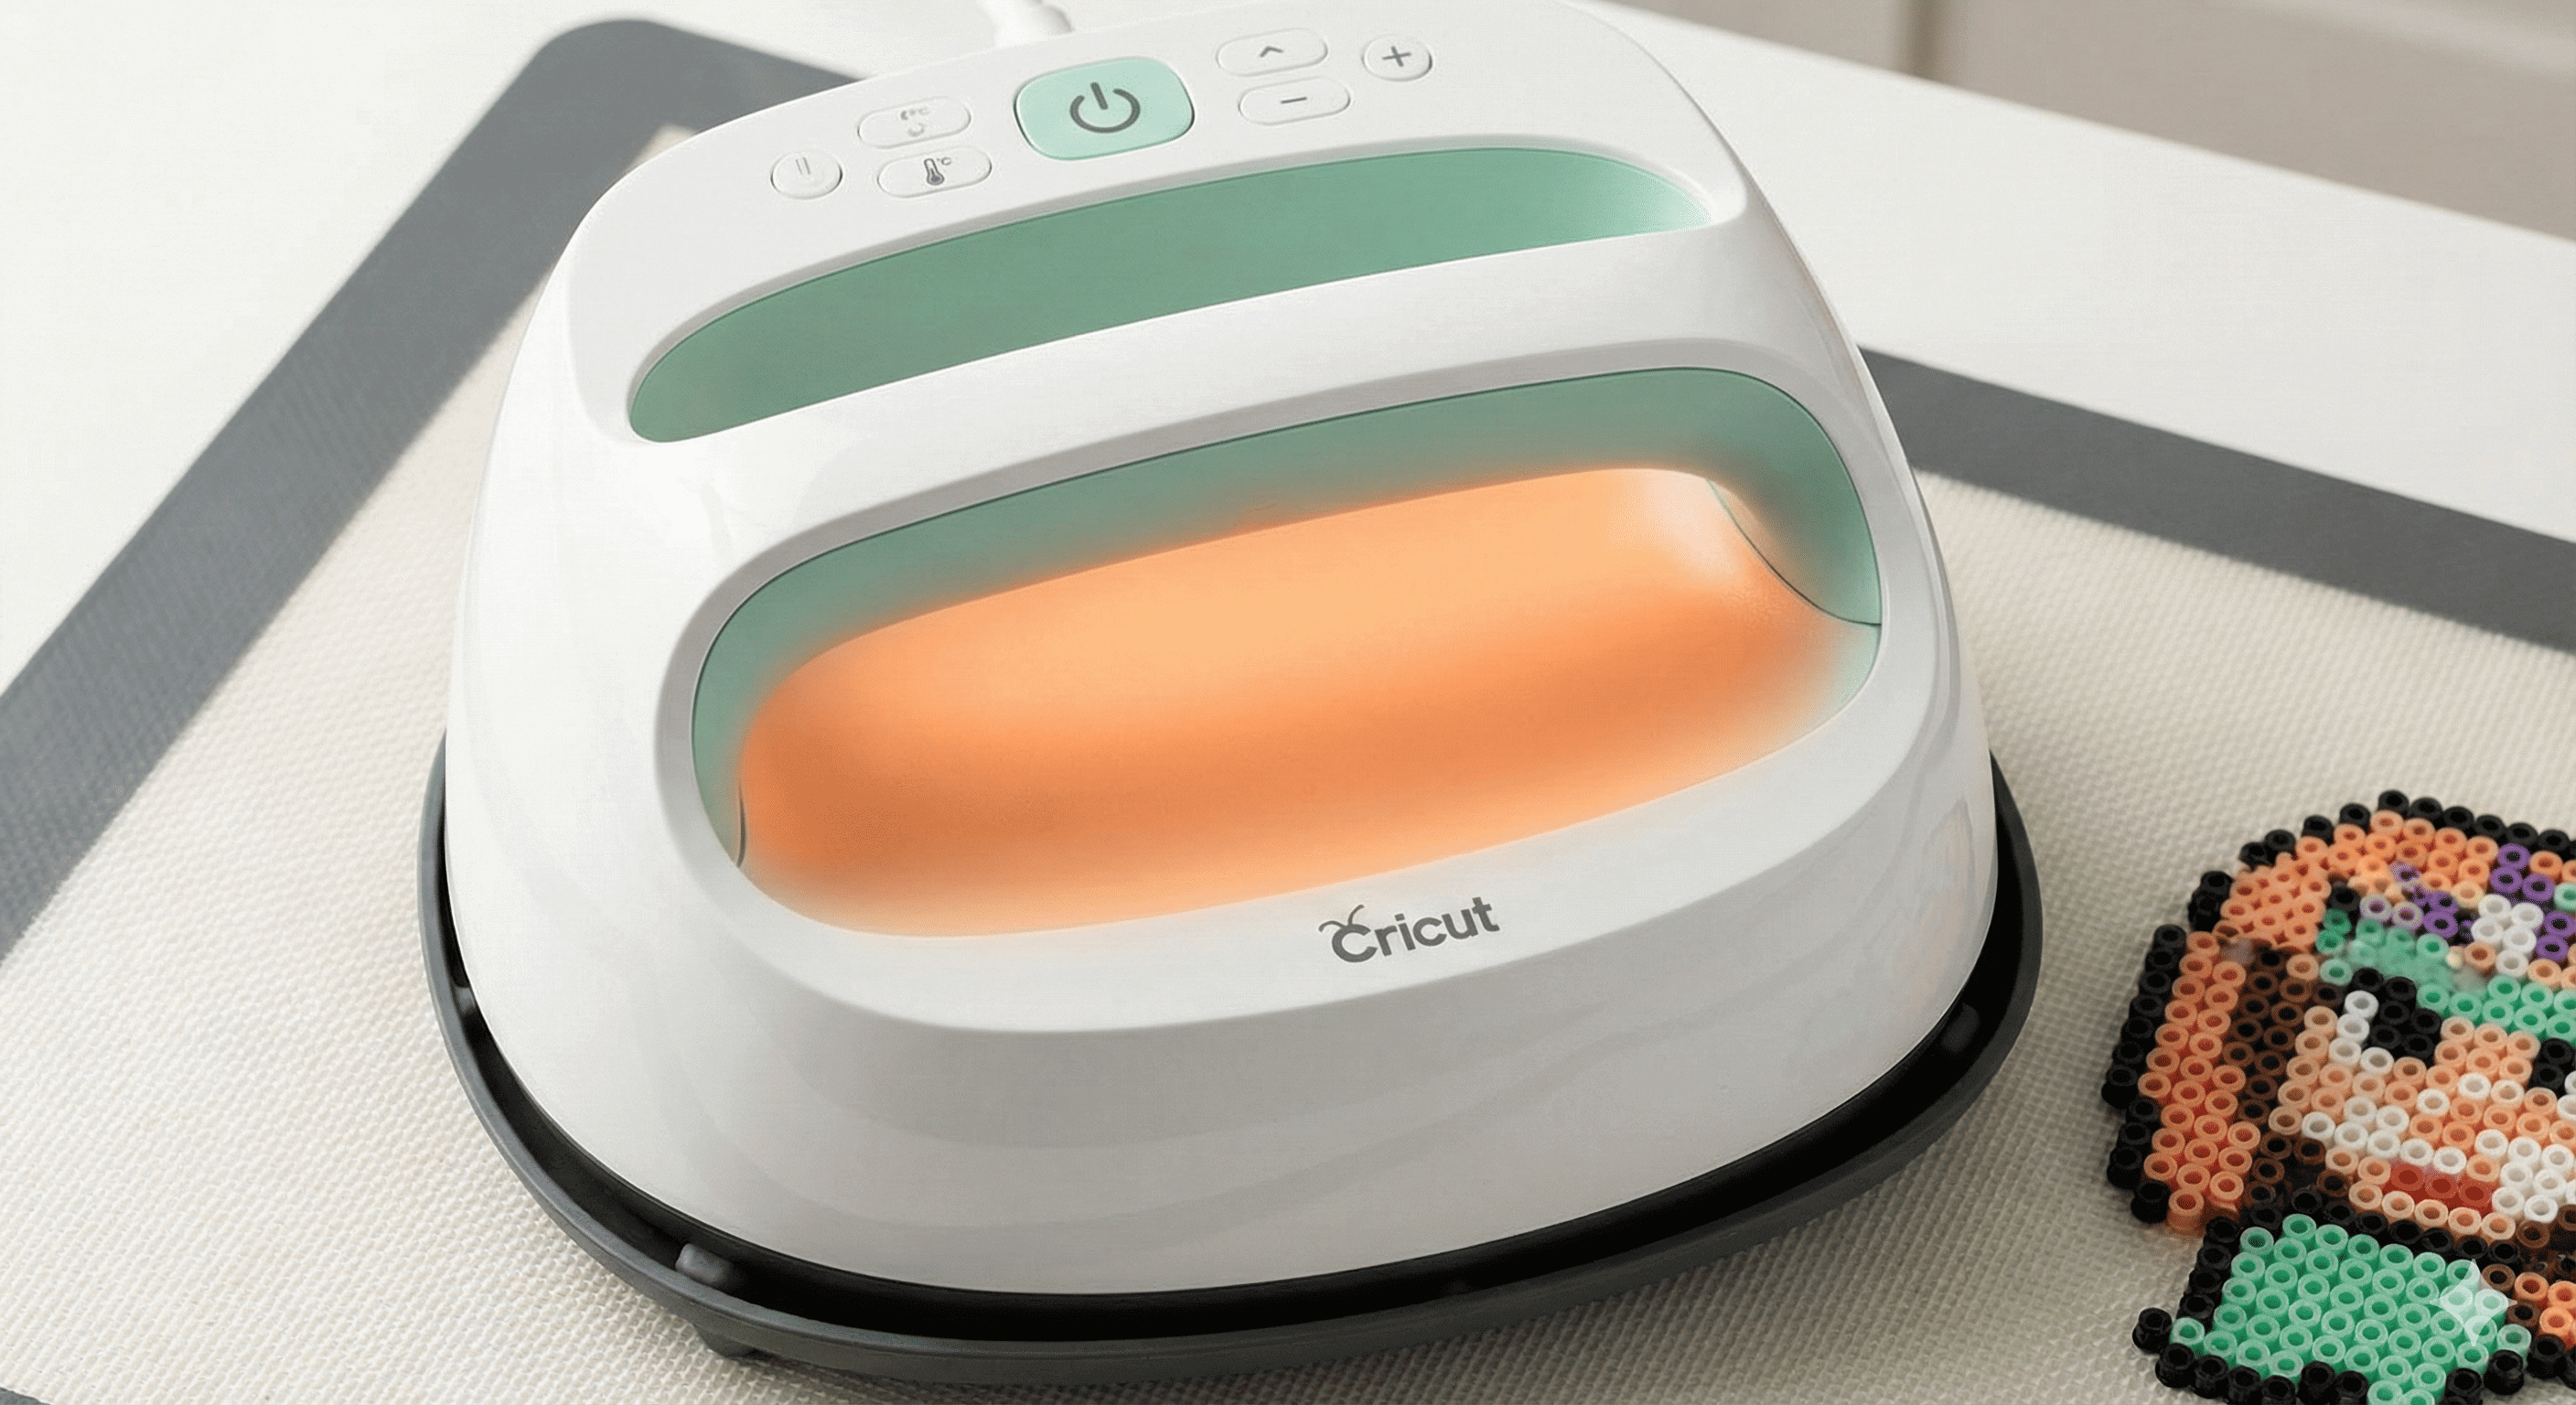
Insight Tip: If you find yourself consistently getting uneven melts, especially on larger projects, consider investing in a heat press (like an Easy Press), as they have a much more evenly heated surface compared to standard household irons.
FAQ
What temperature should I use to iron Perler beads?
Start with low to medium-low heat and turn steam off. Every iron behaves differently, so test on a few spare beads before ironing the final project.
Why did my Perler bead project warp after ironing?
Warping usually happens when the piece cools without pressure or when one side gets too much heat. Keep parchment paper on the project and press it under a flat book until it is fully cool.
Can I iron directly on the pegboard?
Small projects can be lightly ironed on the board, but large projects are safer with the tape method. Long heat exposure can bend pegboards.
Next step
If you are still preparing supplies, read the starter kit guide. If you already have a design, browse the pattern gallery or use the pattern maker to convert your own image. For larger builds, pair this guide with the tape method tutorial and patterns with color codes.