The Ultimate Perler Bead Starter Kit: What You Actually Need
Stop buying mixed buckets! Here is the curated shopping list to save you money and frustration.
Start from this guide
Open the editor to make a pattern now, or pick a public pattern to practice the workflow.
The Beginner's Guide to Bead Supplies: Don't Buy the Mixed Bucket
A common rookie mistake is buying a massive bucket of "10,000 mixed beads." Trust me, when you're spending 20 minutes hunting for a single grey bead in a sea of chaos, you'll regret it.
Here is a battle-tested shopping list of what you actually need to get started properly.
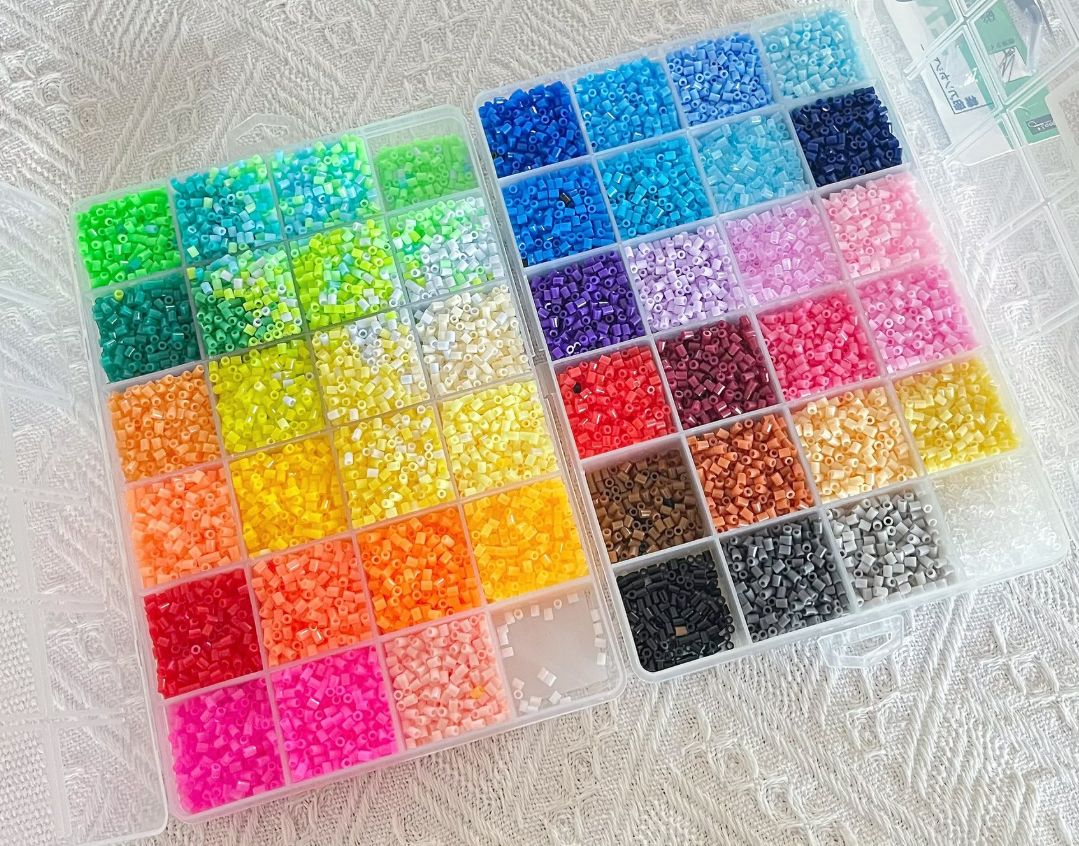
1. The Beads: Single Colors Only
Brand Choices
- Perler (5mm): The gold standard in the US. Good consistency, melts well.
- Artkal (5mm): Offers a huge color range (S-series allows for flexible projects). Highly compatible with Perler.
- Hama (5mm): Lower melting point. Results in a thinner finish. Not recommended to mix with Perler.
Essential Color List
If you're on a budget, prioritize these:
- Black: Buy 2-3 bags. Almost every pixel art sprite uses black for outlining. It is the color you will run out of first.
- White: Buy 1-2 bags. Used for highlights, eyes, and filling interiors.
- Primary Colors: One bag each of Red, Blue, Green, Yellow, Orange, Purple.
- Skin Tones (Sand/Tan): Essential if you plan to make anime or video game characters.
- Greys (Dark/Light): Crucial for shading and depth, offering more realism than just black and white.
2. Pegboards: Clear and Interlocking
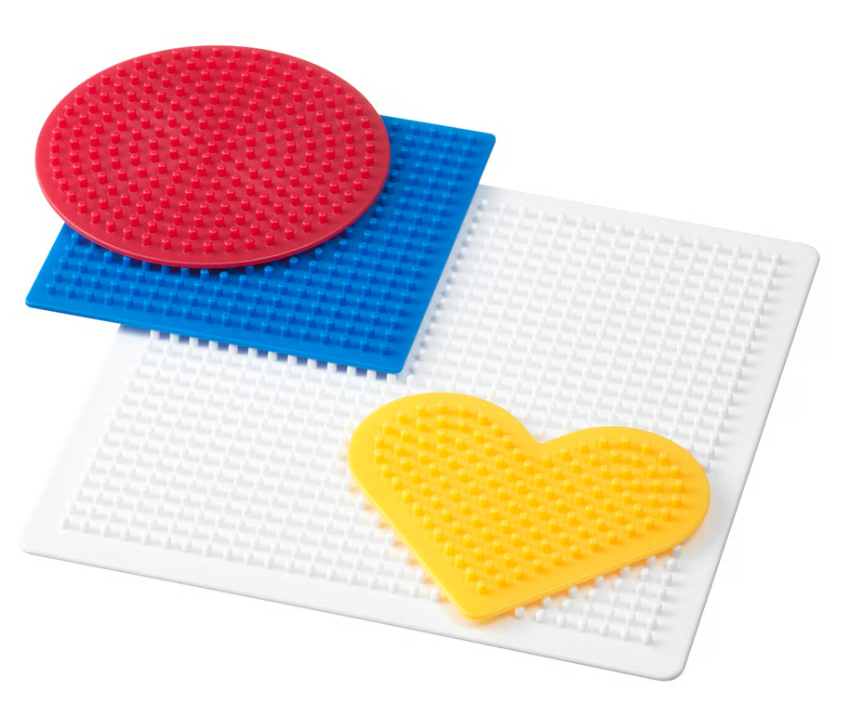
- Material: Must be clear! This allows you to place a printed pattern underneath and trace it.
- Size: Standard large square (29x29 pegs).
- Quantity: Start with 4. Most decent-sized projects will spill over the edge of a single board. The interlocking tabs allow you to create a larger canvas.
3. Tweezers: Your Paintbrush
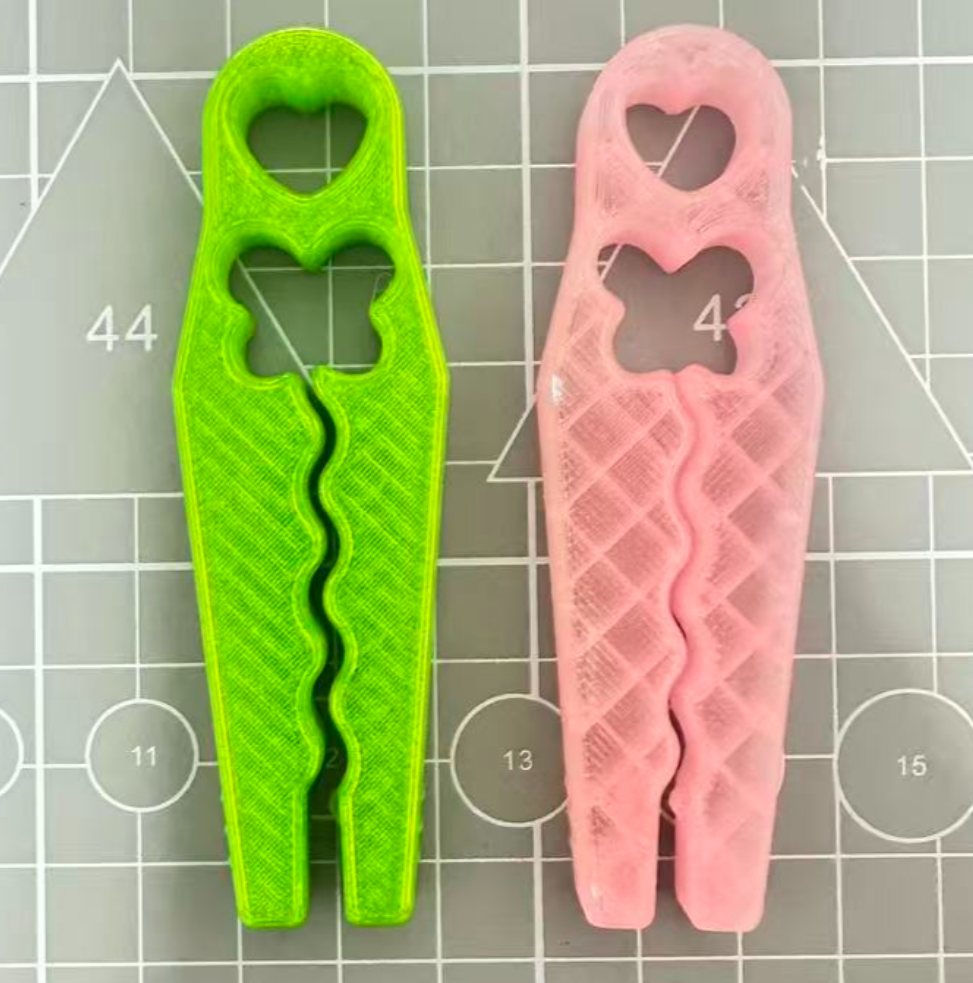
Do not use your fingers! They are too clumsy for pixel-perfect placement.
- Recommendation: Stainless steel fine-point tweezers (angled ones are ergonomic).
- Avoid: The cheap plastic tweezers that often come in kits. They have poor grip and will frustrate you.
4. Ironing Paper: Essential for Safety
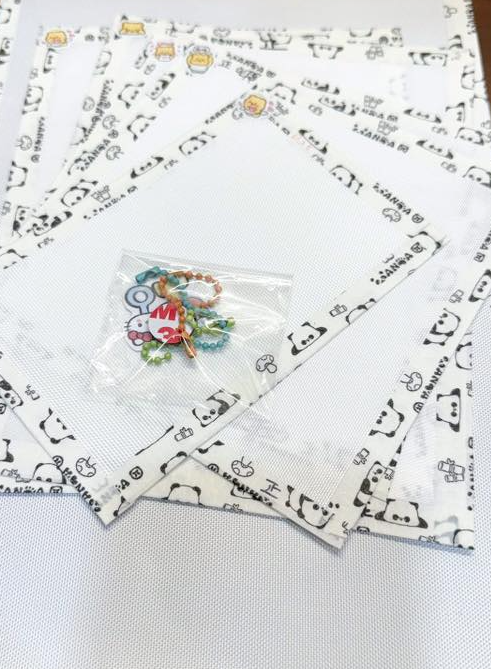
- Parchment Paper: The best choice. It creates a smooth finish, withstands high heat, and is reusable.
- WARNING: Do NOT use Wax Paper! The wax will melt onto your beads and ruin your iron.
5. Nice-to-Haves
- Storage Box: A plastic organizer with adjustable dividers. Sorting by color will double your crafting speed.
- Masking Tape: If you plan to make large projects, learning the Tape Method is mandatory to protect your boards.
FAQ
Do beginners need to buy many bead colors at once?
No. Start with black, white, gray, skin tones, red, yellow, blue, green, and common browns. Add colors later based on the material list of the pattern you want to build.
Should I start with 5mm beads or mini beads?
Most beginners should start with standard 5mm beads. They are easier to place, easier to iron, and more forgiving. Mini beads are better once you want smaller detailed projects.
Are clear pegboards worth it?
Yes. Clear boards let you place a printed pattern underneath and make it easier to align multiple boards for larger projects.
Next step
Once the basic kit is ready, choose a simple design from the pattern gallery or create your own in the editor. Then read how to use Perler bead patterns and the color codes guide, or browse Perler bead patterns for beginner-friendly ideas.