The Tape Method: The Ultimate Guide to Saving Your Pegboards
Learn how to use masking tape to lift your perler bead design before ironing. Protect your boards and correct mistakes easily.
Start from this guide
Open the editor to make a pattern now, or pick a public pattern to practice the workflow.
Using masking tape to lift your perler bead design is a popular method that protects your pegboards from heat warping and helps achieve a more even melt. Here are the detailed steps and expert tips:
Detailed Steps
Phase 1: Applying the Tape
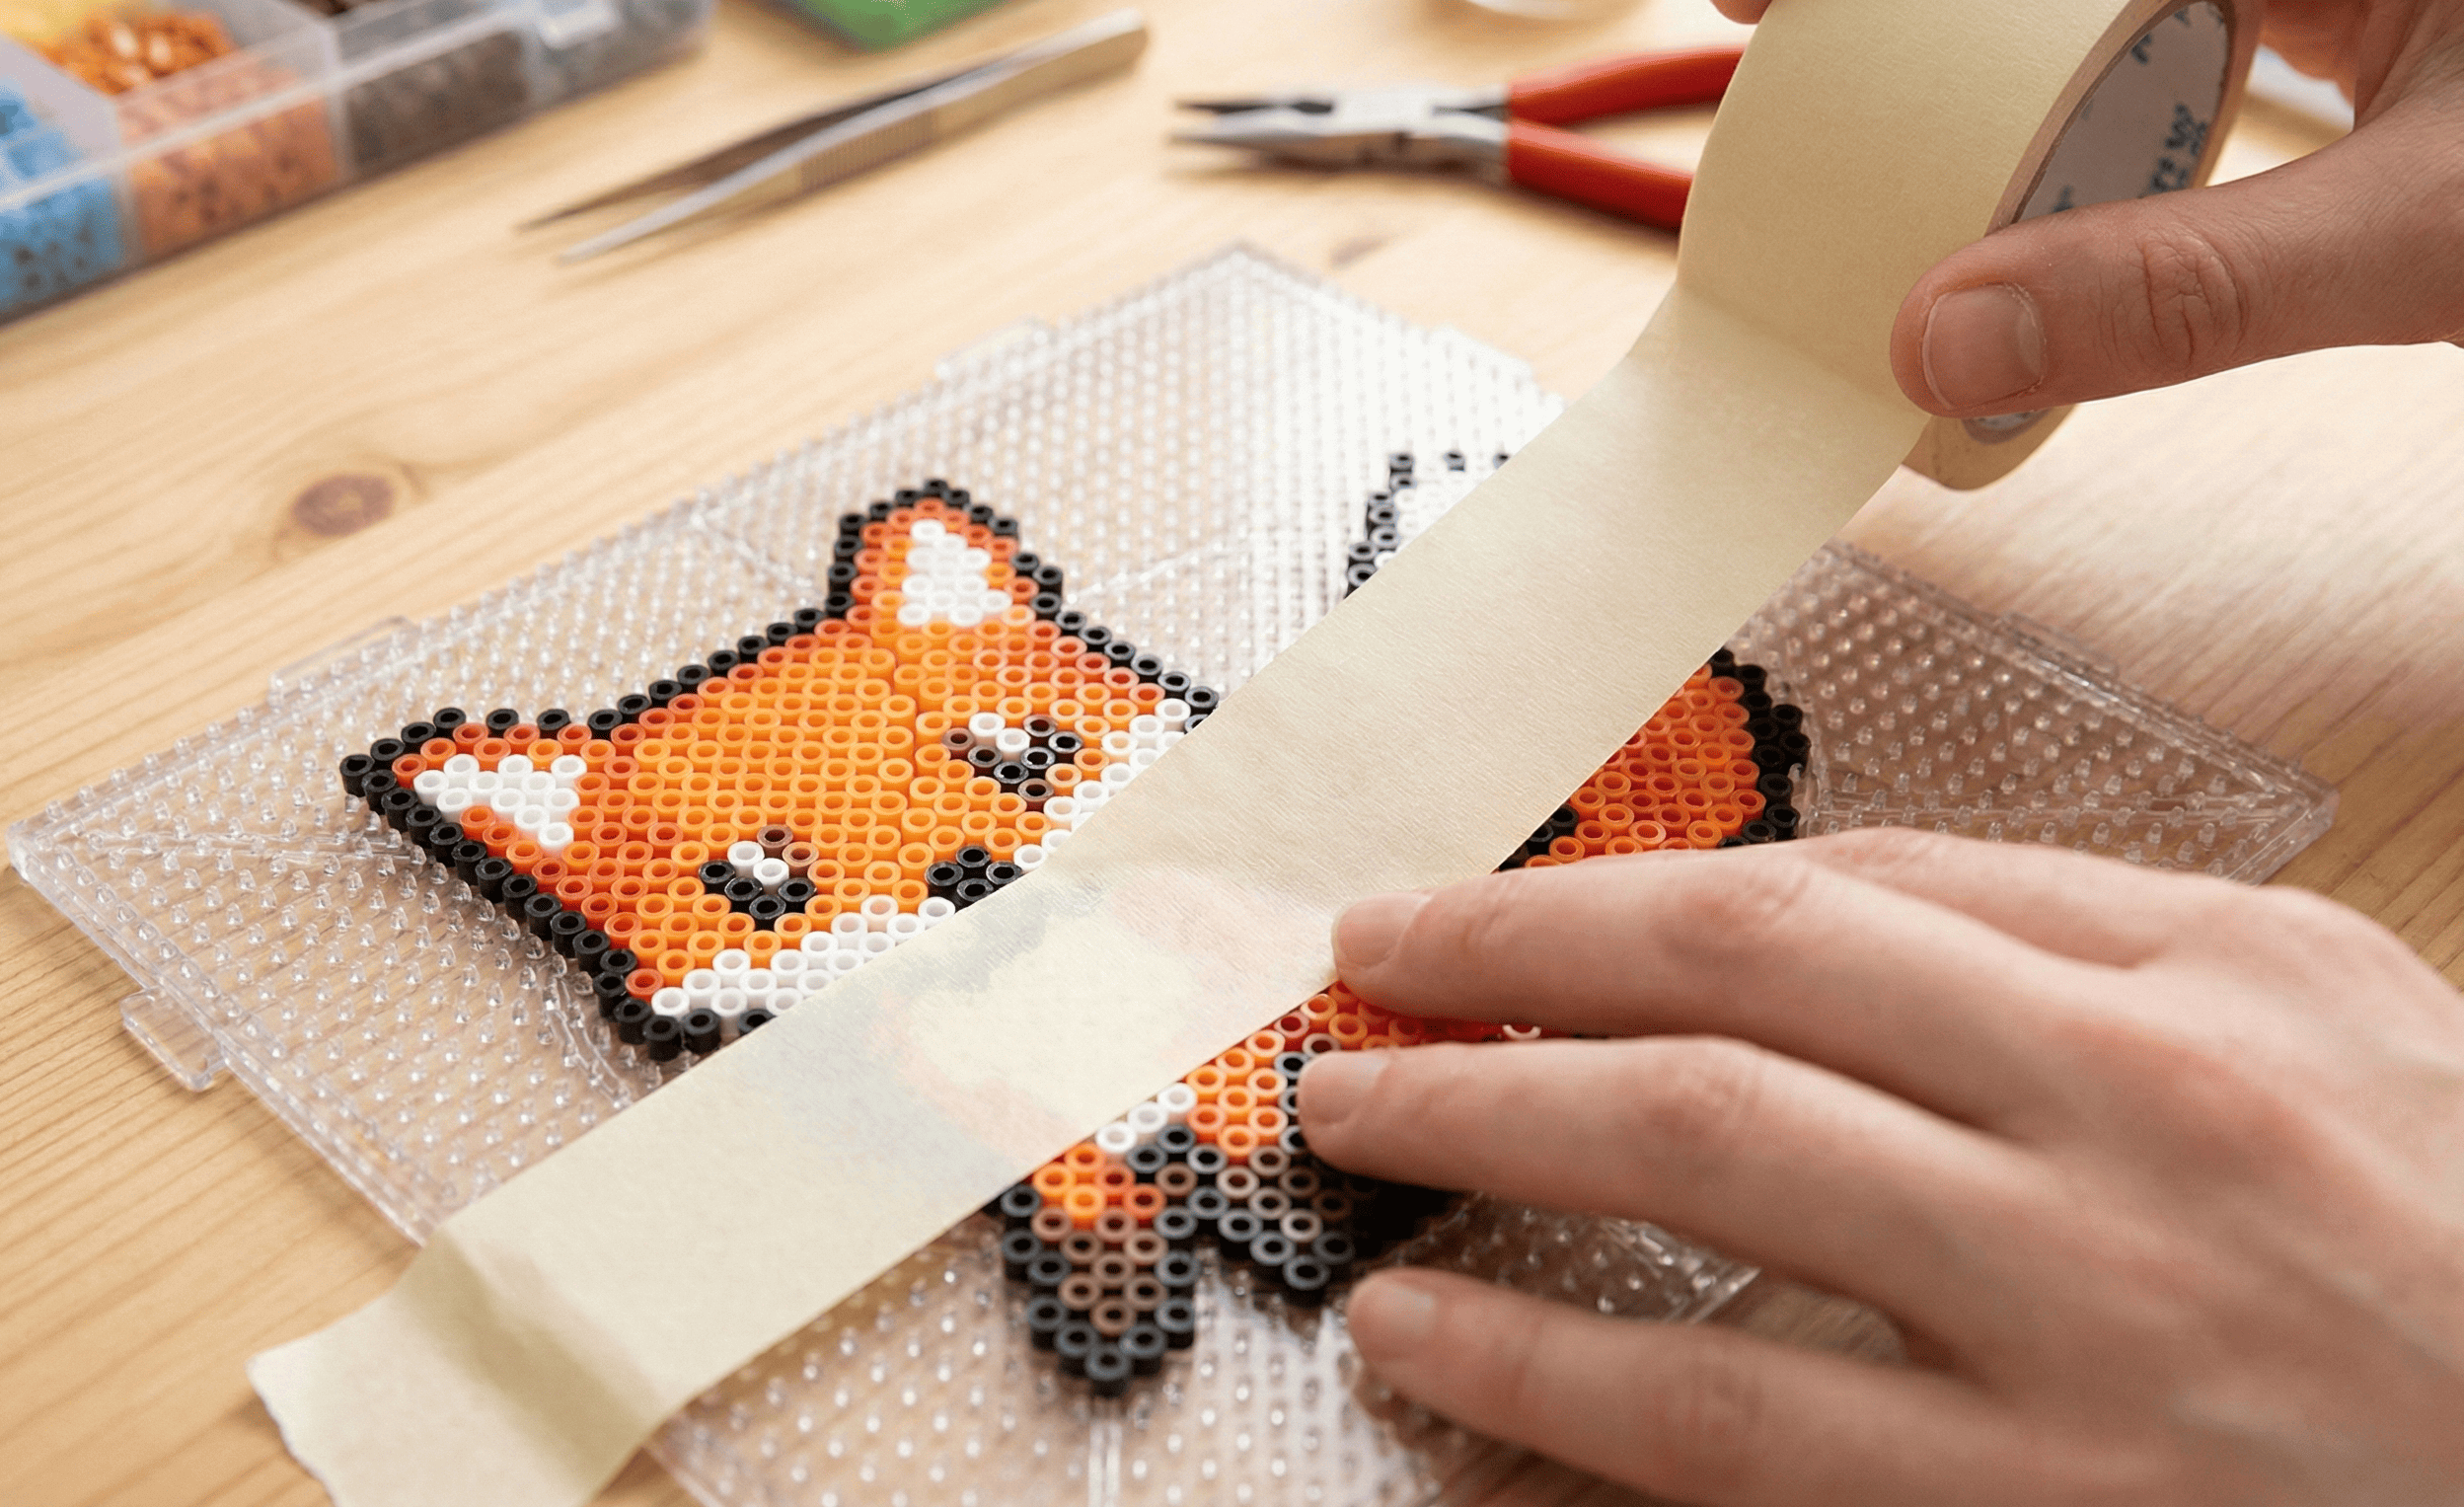
- Prepare the Tape: Use standard width (about 5 cm or 2 inches) masking tape or painter's tape (blue tape). Ensure you have enough tape to cover the entire design.
- Apply Carefully: Carefully place the first strip of tape over one end of your design. The key is to lay the tape down gently, as it is difficult to remove without damage once it sticks.
- Overlap: Lay the next strip of tape with an overlap of about 0.5 cm (1/4 inch) until the entire design is covered. Do not overlap too much, or the tape layer will be too thick for the next steps.
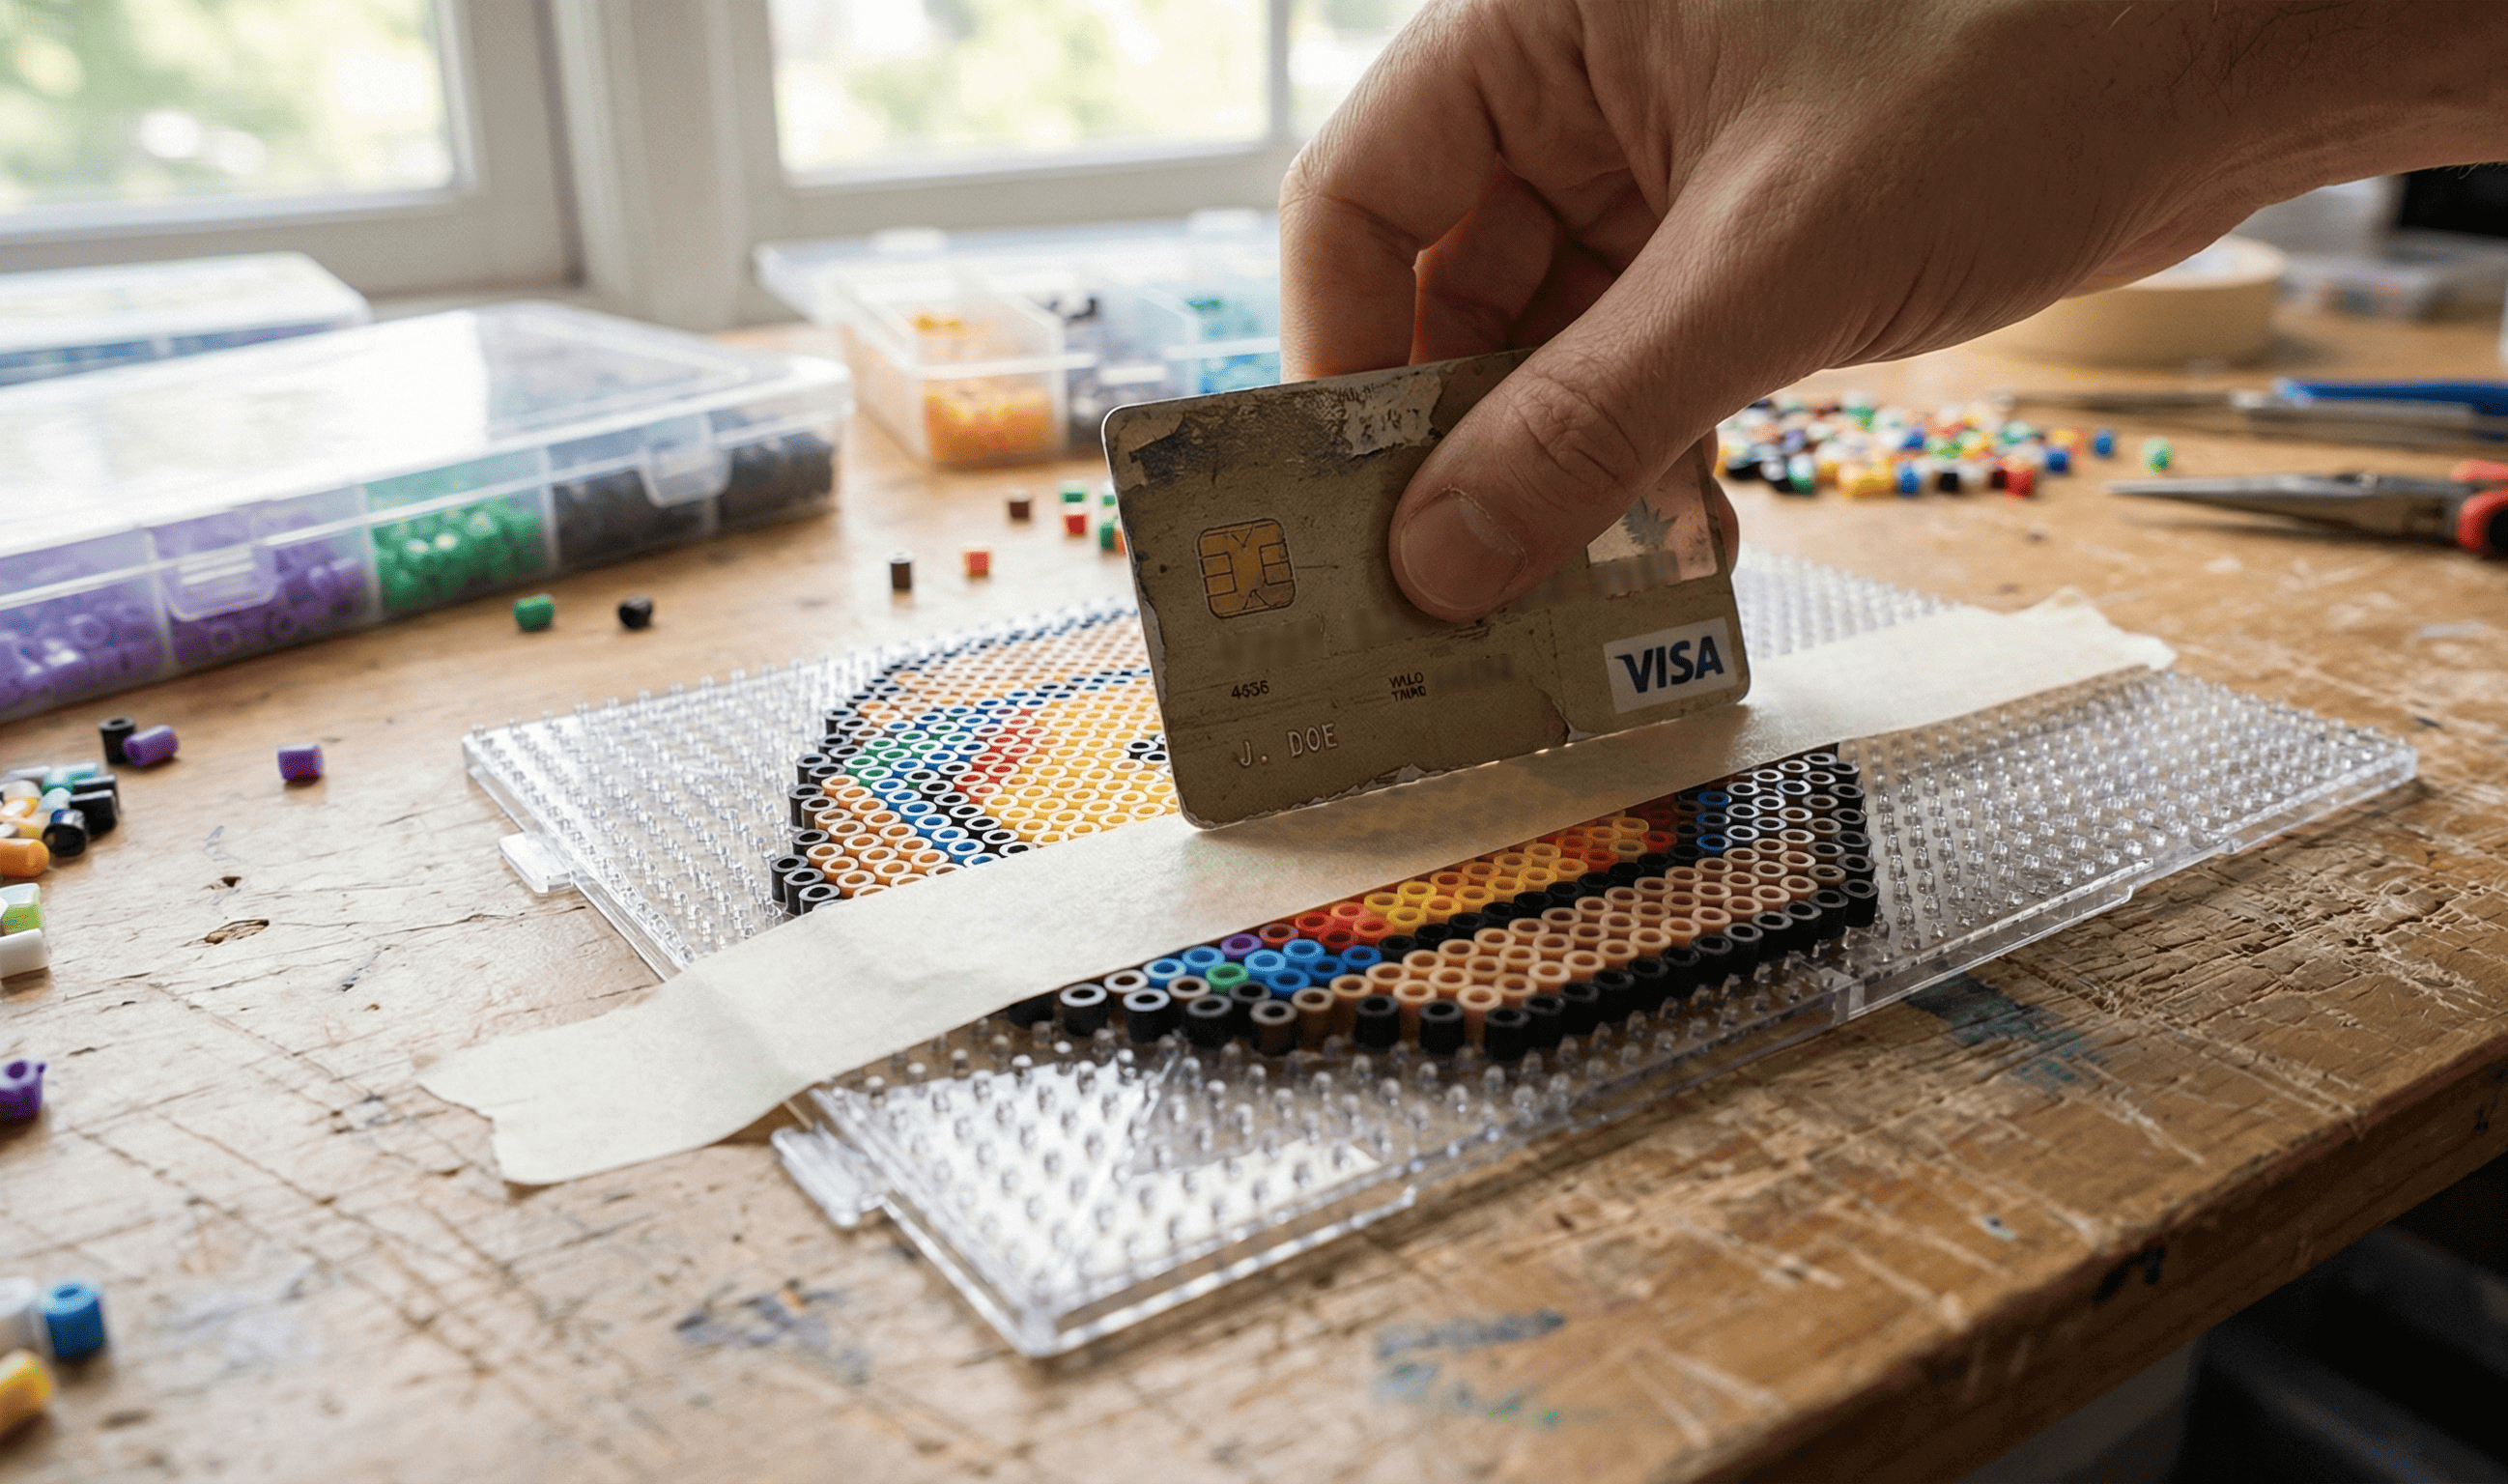
- Press Down Firmly: Use a tool (like a roll of tape, a credit card, or a coin) to rub and press firmly over the surface of the tape. The goal is to stick every bead securely to the tape's adhesive. You know it's stuck when you can clearly see the center hole of each bead through the tape.
- Trim Excess: Use scissors or a craft knife to trim away excess tape from the edges of the design, leaving about 1.2 cm (1/2 inch) of border. You can choose whether or not to trim the internal gaps.
Phase 2: Lifting and Preparation
- Poke Holes (Optional but Recommended): Many crafters recommend using a pin, tack, or a spare pegboard to poke a hole through the tape at the center of each bead. This allows hot air to escape during ironing, preventing "blowouts" or uneven melting.
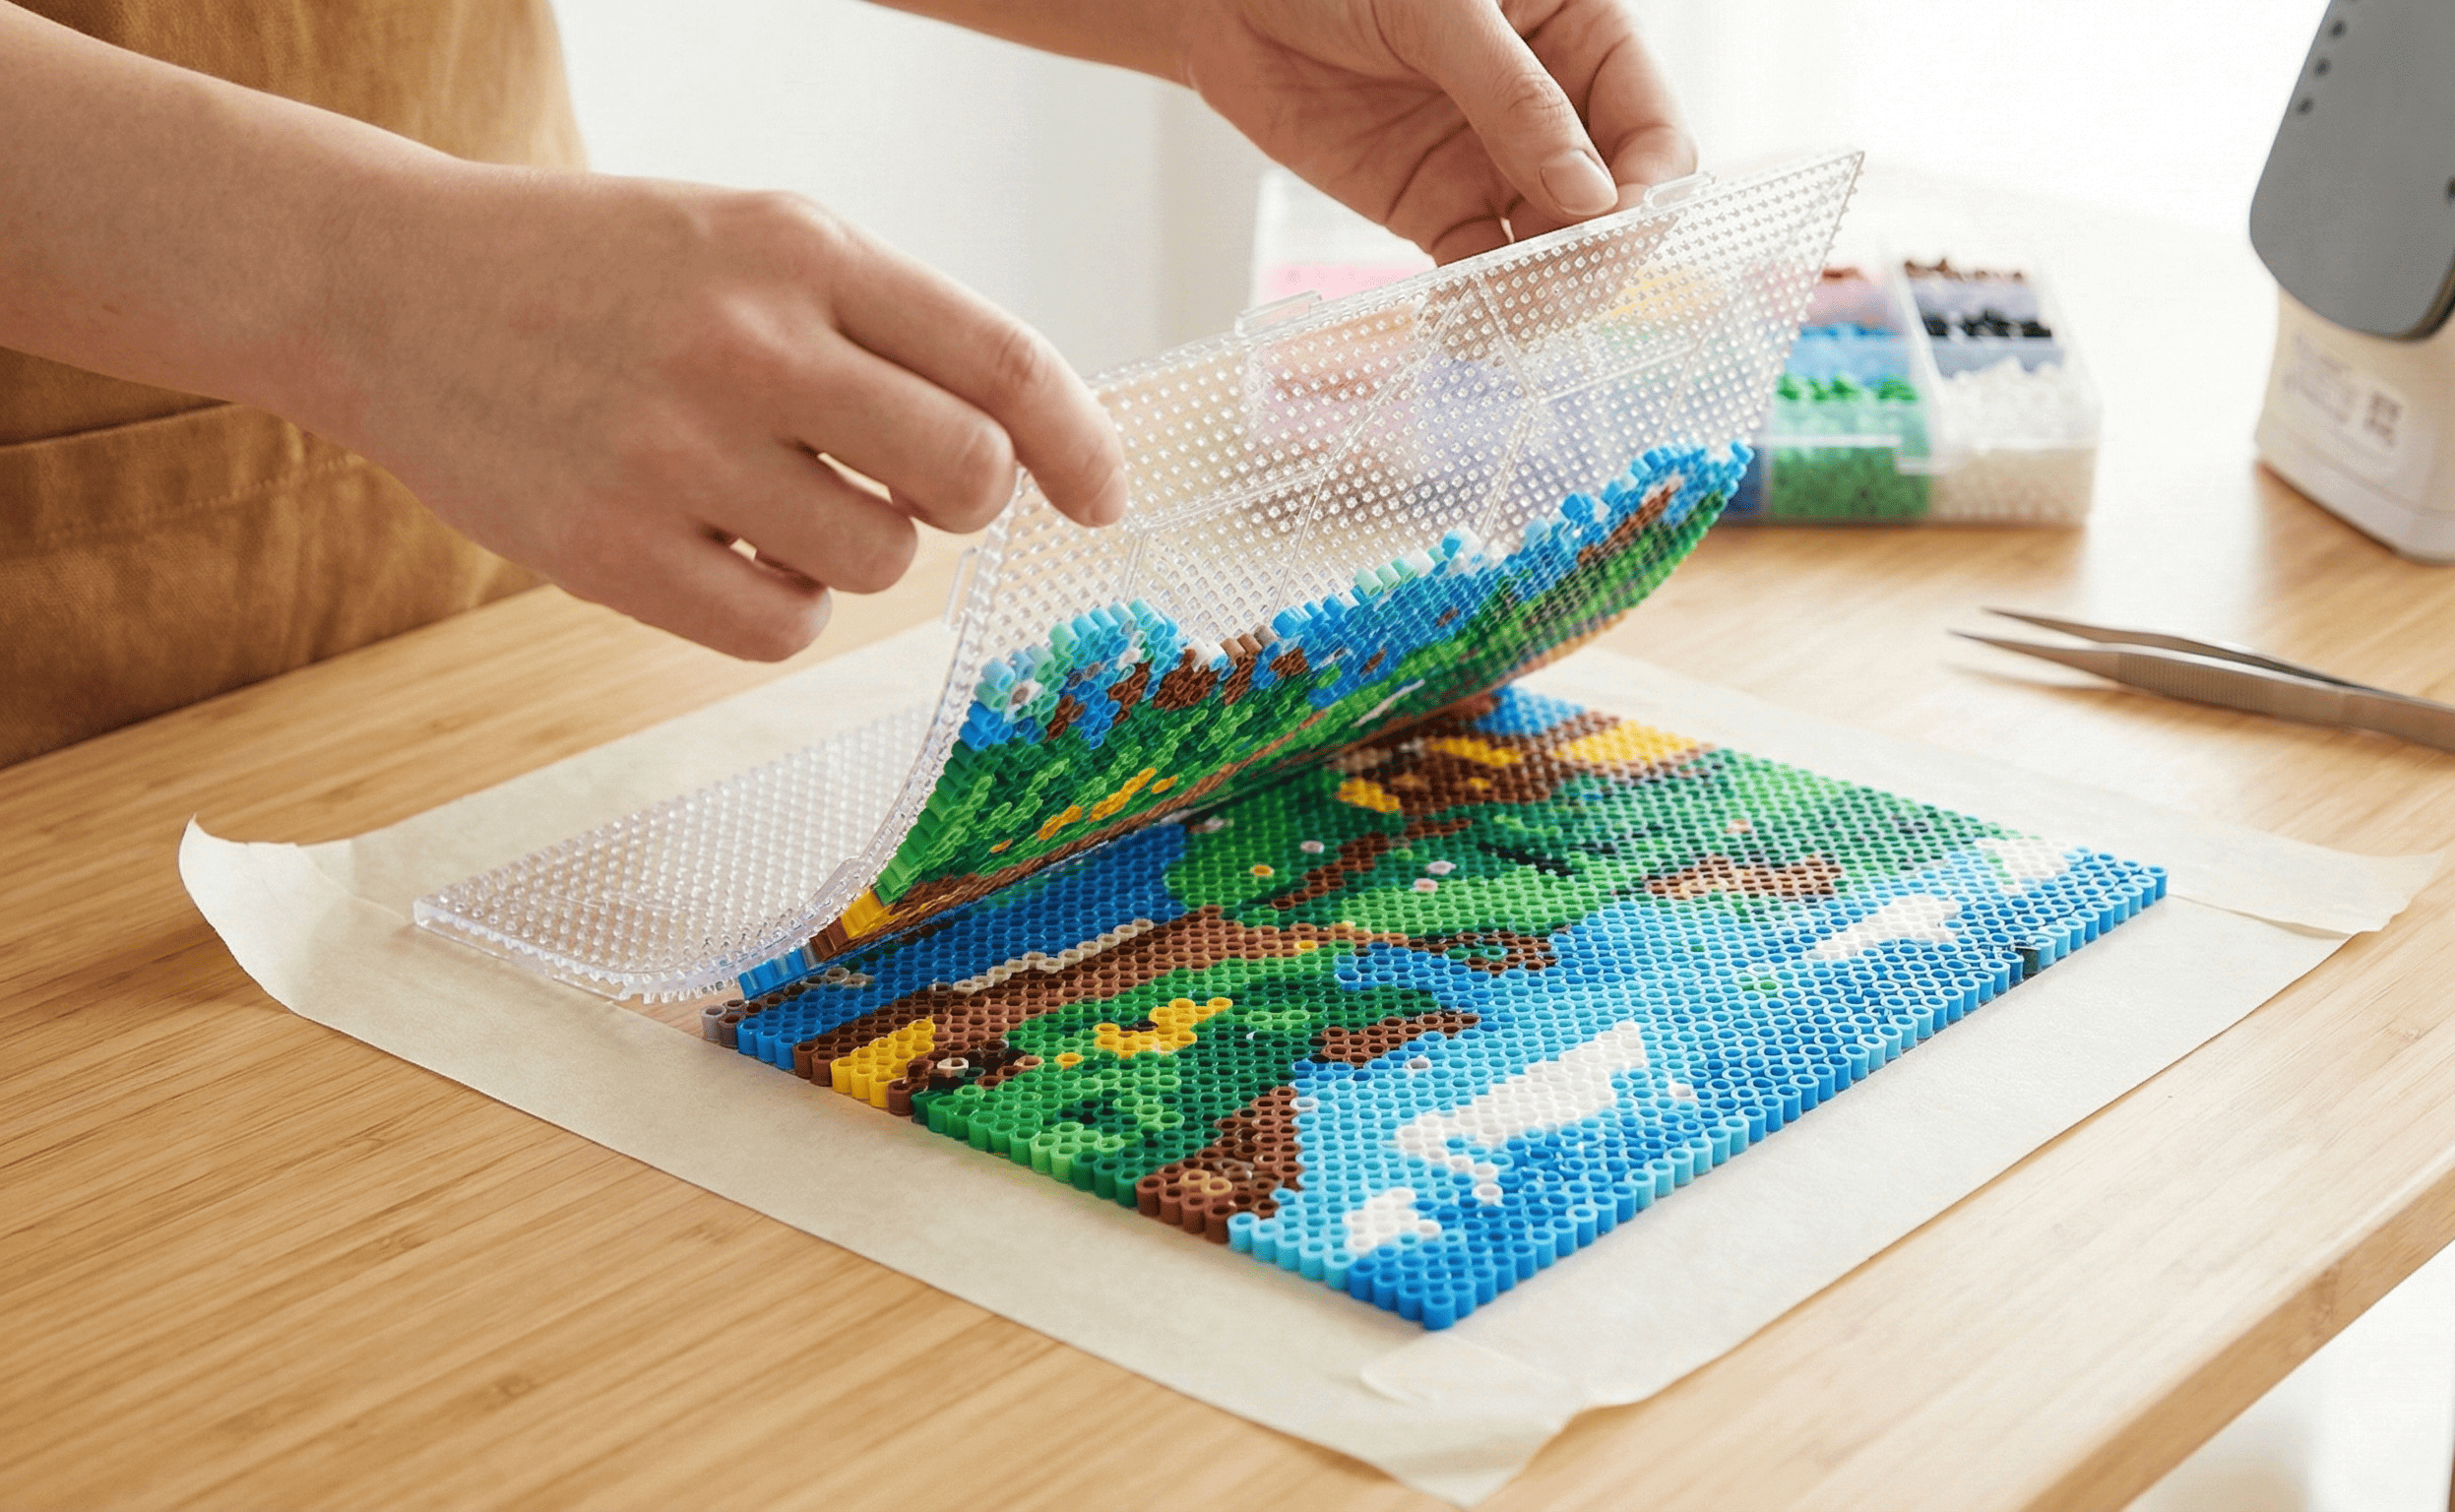
- Flip the Design: Prepare two pieces of stiff cardboard (or heavy books) large enough to cover your design. Place the first piece over the pegboard. Sandwich the pegboard and cardboard with both hands, then flip them over quickly and confidently so the tape side is facing down.
- Remove the Pegboard: Gently lift and remove the pegboard from the back of the taped beads. Your design should now be completely intact, stuck to the tape.
Phase 3: Ironing and Cooling
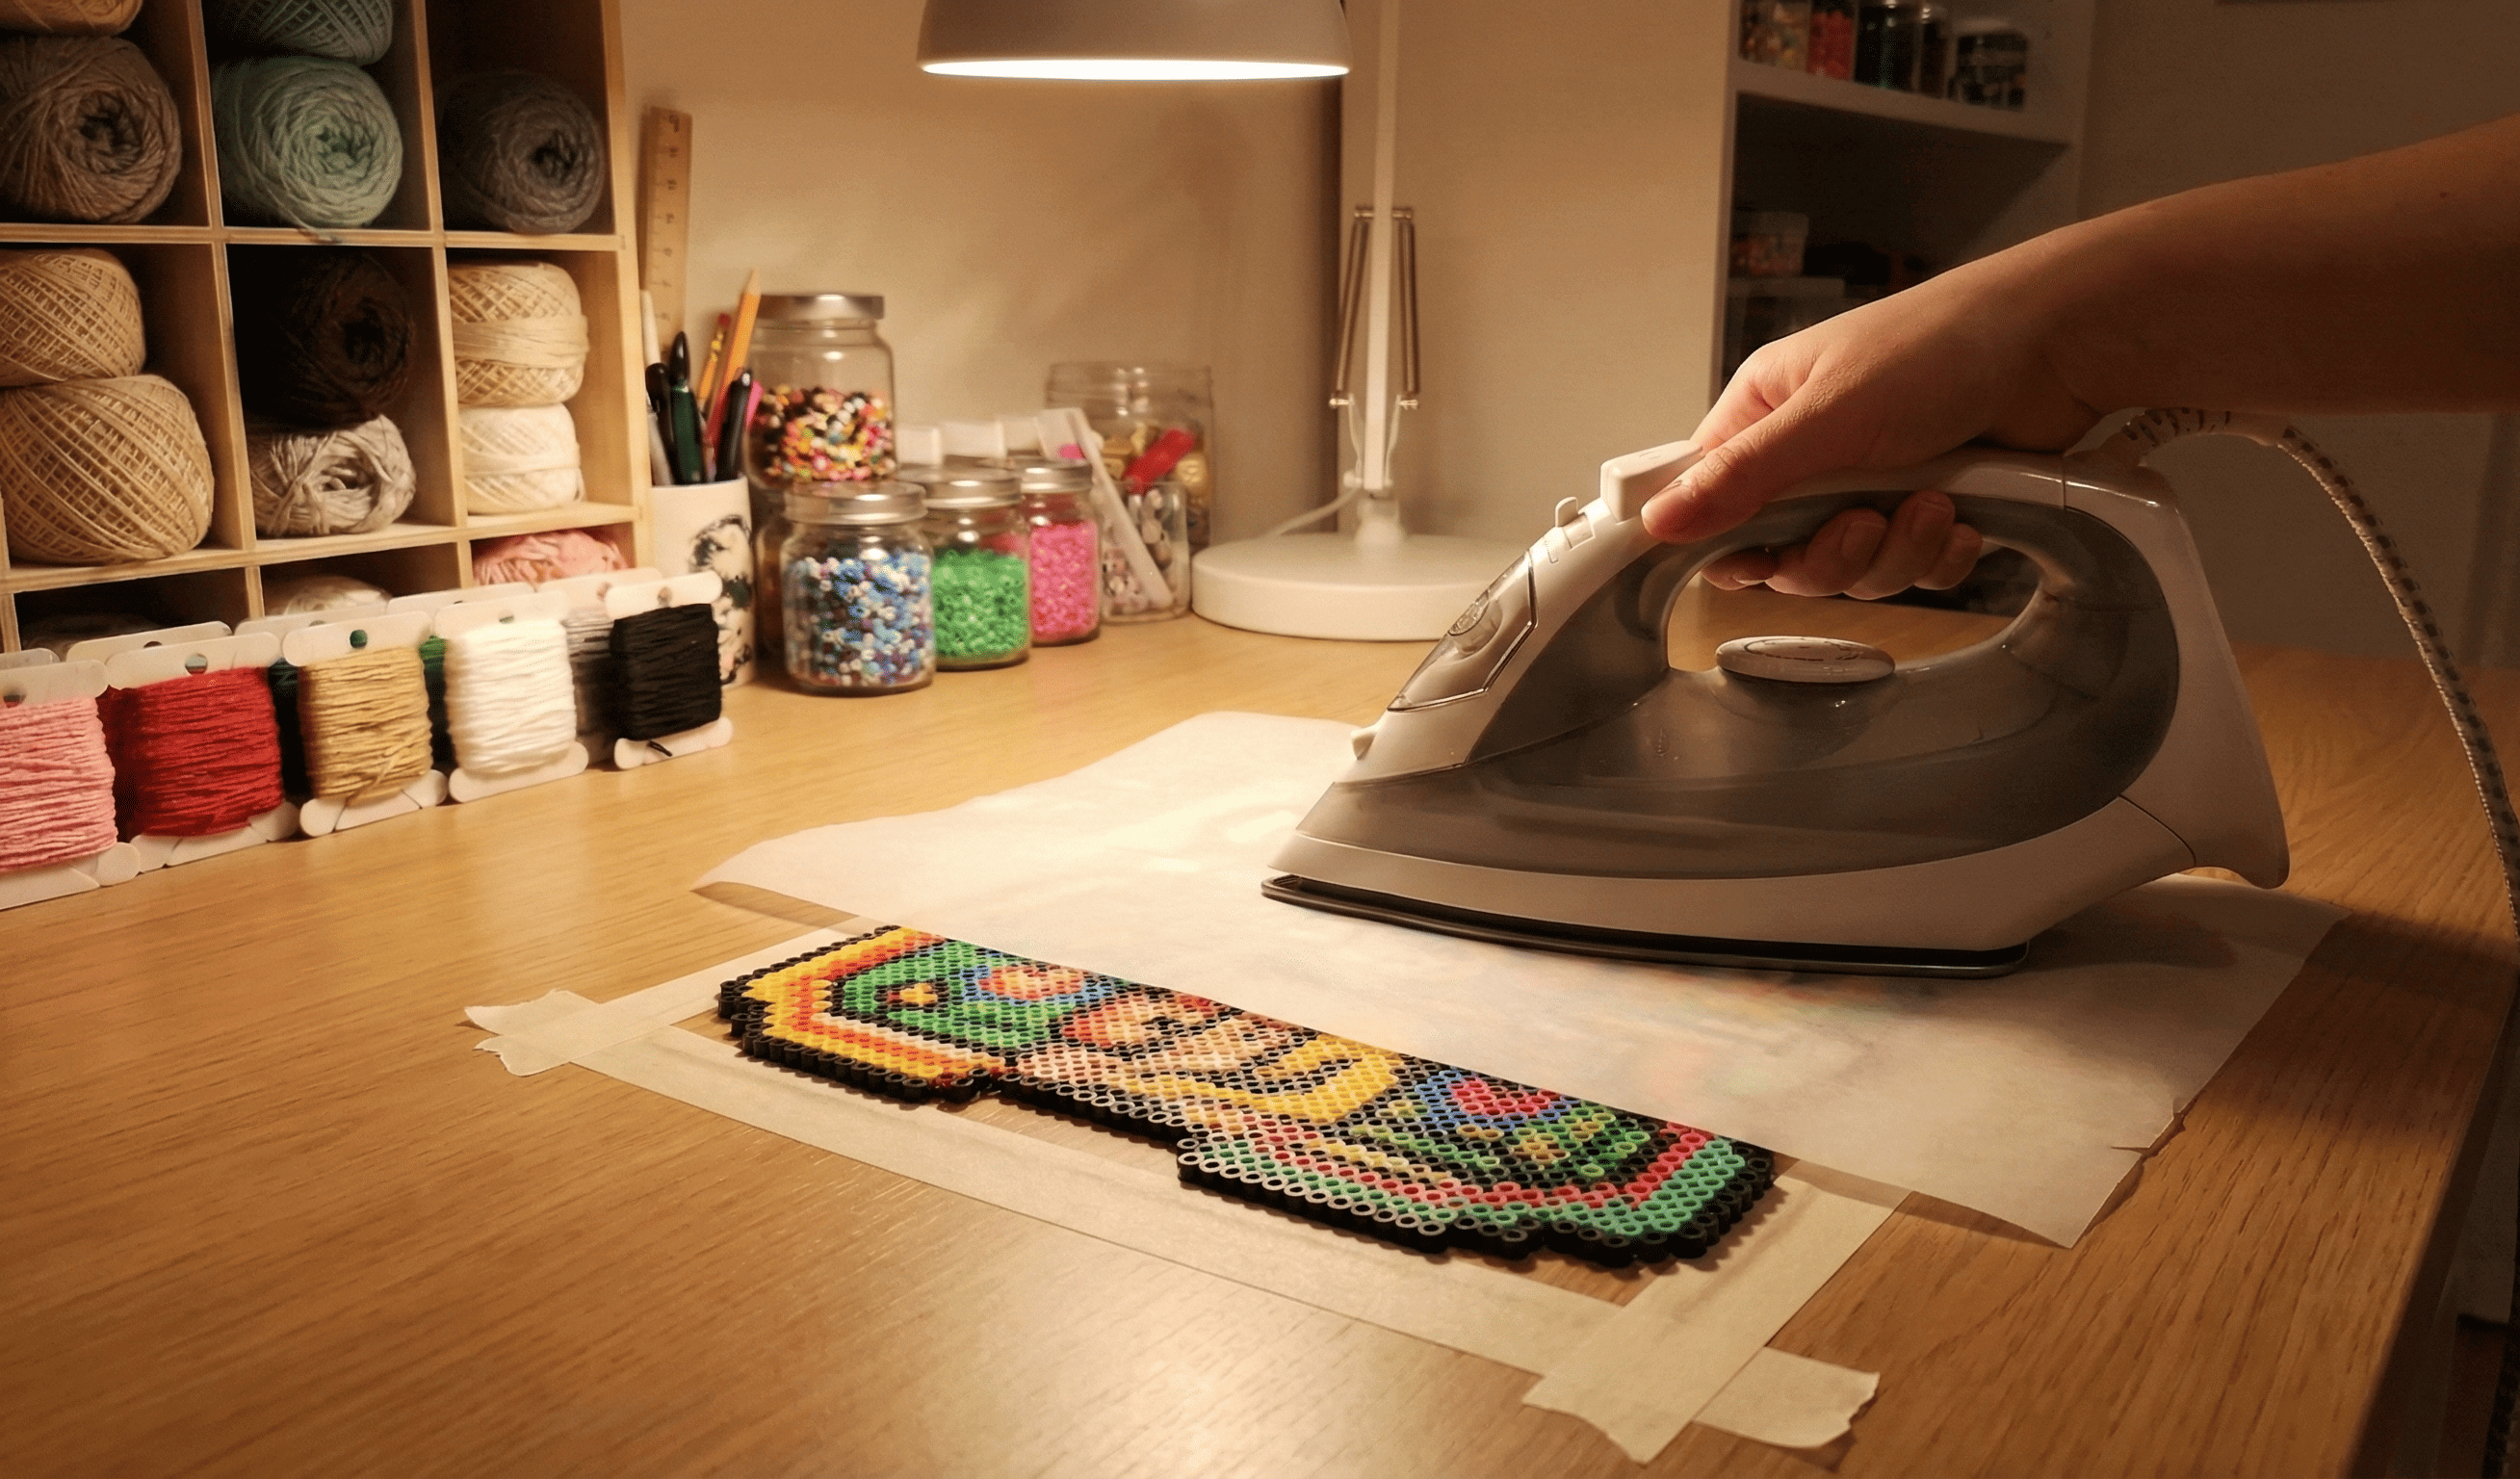
- Prepare Ironing Surface: Place the design (tape side down) on a flat, heat-resistant surface. Cover it with ironing paper (parchment paper). Ensure the paper is smooth and wrinkle-free.
- Set the Iron: Set your iron to low or medium-low heat (usually the Wool setting, with steam turned OFF). Wait for the iron to fully preheat.
- Iron the Back (Non-Taped Side): Place the iron on the parchment paper and move it in circular motions evenly over the beads. Focus on the edges and then move towards the center. Each area usually takes 10-20 seconds until the beads are slightly fused and the holes become smaller.
- Cooling and Flattening: Immediately after ironing one side, place the piece on a hard surface and weigh it down with a heavy object (like heavy books). Let it cool completely for 10-15 minutes to prevent warping.
- Remove Tape and Iron Front (Optional): Once cool, carefully peel off the masking tape. If you want to iron both sides, flip the piece, cover the front with ironing paper, and repeat the ironing and cooling process.
Expert Tips
- Patience is Key: Be patient when applying/removing tape and during the ironing/cooling process. Rushing can cause your design to scatter or warp.
- Ensure Adhesion: Thoroughly pressing the tape down is the critical step for a successful lift. Do not skip this!
- Temperature Control: Different irons and bead brands have different melting points. It is recommended to test with a lower heat setting first to find the best one for your equipment.
- Large Projects: For large designs, use the "sandwich" flip method with two large pieces of cardboard to move your work safely.
FAQ
Does the tape method leave sticky residue?
Low-tack masking tape or paper tape usually leaves little residue. Avoid strong transparent tape because it can leave glue behind after heat is applied.
Should I poke holes in the tape?
For large projects, yes. Small holes let hot air escape and help reduce uneven melting or beads lifting from trapped steam.
When is the tape method necessary?
Use it when a design covers multiple boards, needs to be moved before ironing, or might damage the pegboard if you iron too long in place.
Next step
If you need a large design, browse the pattern gallery or generate one in the editor. Before ironing, pair this guide with how to iron Perler beads and the troubleshooting guide. For material planning, see patterns with color codes.