Pet photo to Perler bead pattern: an orange cat case study
Compare real 29×29 and 58×58 conversions of an AI-generated cat photo, clean the background, refine the face, and check the final 2066-bead, 14-color material list.
Mula terus daripada tutorial
Buka editor untuk membuat corak atau pilih corak latihan daripada galeri awam.
Follow one cat portrait through cropping, conversion, and cleanup. The source photo is AI-generated tutorial material, not a real user's pet submission. The bead charts below are actual output from this site's converter; the last chart also records background cleanup and manual edits.
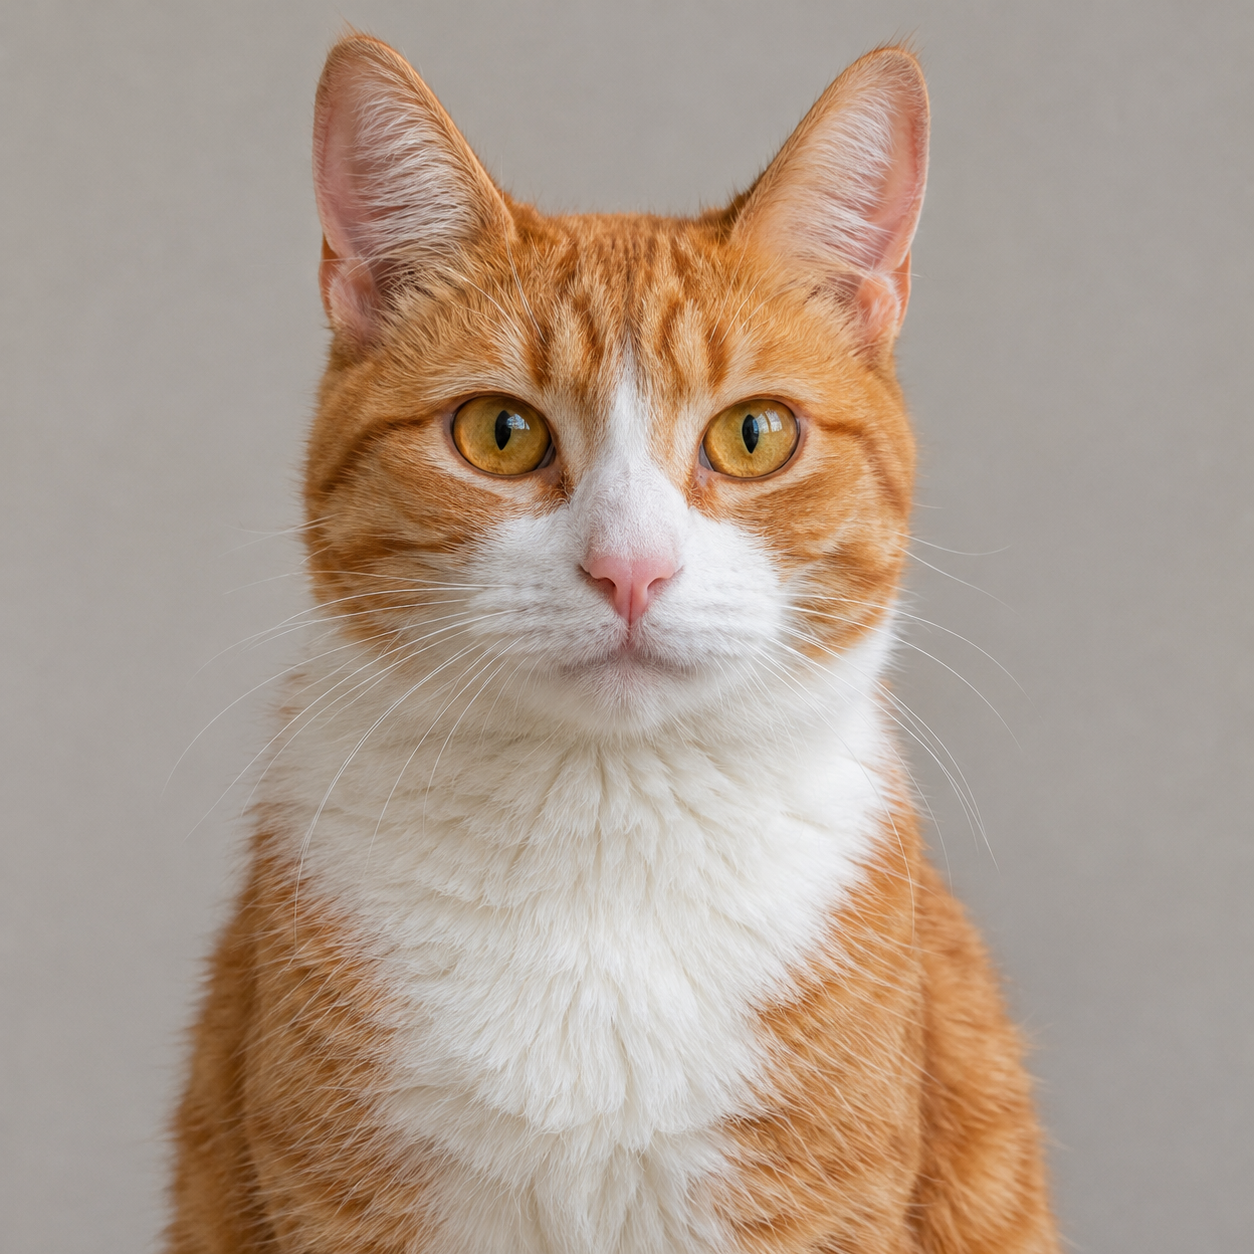
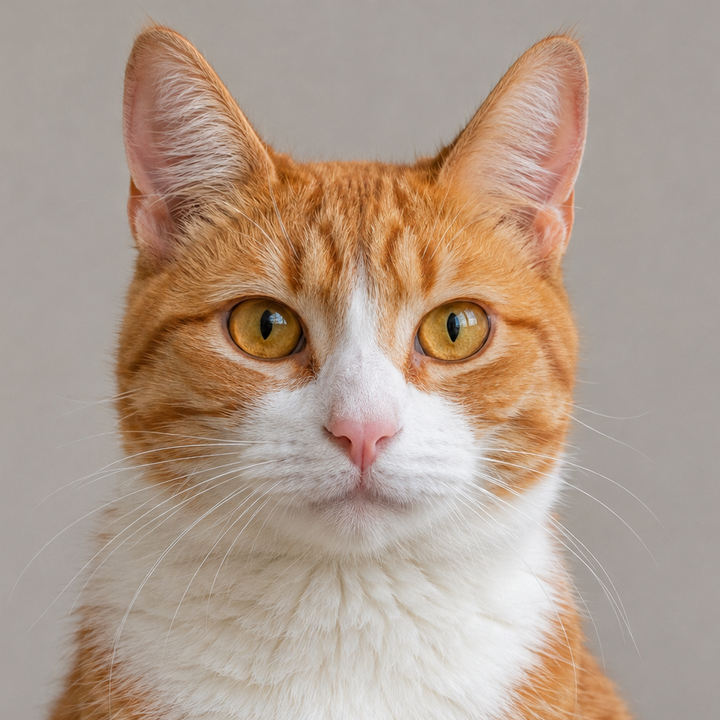
Open and save the original example photo, then try it in the image-to-pattern maker.
1. Crop around ears, eyes, and chin
Reduce the chest and side background so the face gets more cells, while keeping both ears. This example uses a square crop starting about 12% from the left and 0% from the top, with width and height both 76% of the original image.
Keep the simple background for comparison. It is opaque, so automatic conversion will turn background areas into beads too. Cropping is different from background removal.
2. Try 29×29 with a maximum of 12 colors
Choose Perler, maximum 12 colors, dithering off. Try 29×29 first and check whether ears, face outline, and eyes remain distinguishable.
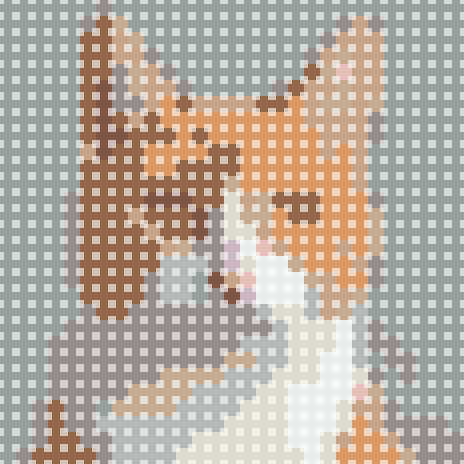
The automatic result has 29×29 cells, 12 colors, and 841 beads. With an opaque photo filling the canvas, every cell becomes a bead. The eyes are close to the fur colors, and small pupils do not survive clearly.
3. Compare 58×58 using the same crop
Keep the same input, crop, brand, and color limit. Change only the grid to 58×58, converting from the original photo again rather than enlarging the small grid.
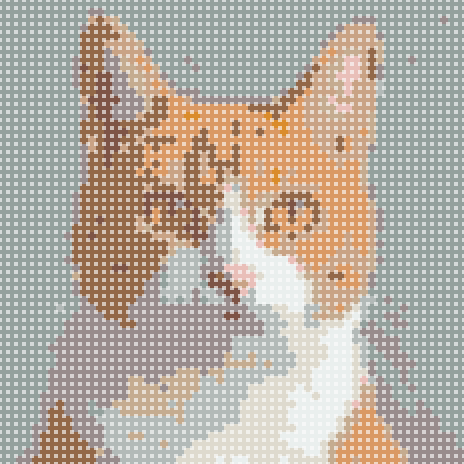
This result has 58×58 cells, 12 colors, and 3364 beads. Ear and cheek details improve, but the background still takes space and the pupils and nose need inspection. Doubling both grid dimensions gives exactly four times the beads before background cleanup.
4. Clear the background and refine the face
The example first uses edge-color background cleanup at tolerance 6, removing 1286 background beads. Automatic background cleanup is a Pro tool; you can also erase around the silhouette manually in the editor. Check light ear interiors and white fur for accidental removal either way.
Next come 21 manual cell edits: remove 12 floating beads, add 4 black pupil beads, 2 white highlights, and 3 salmon nose beads. With rows and columns counted from 1:
- Left black pupil: column 23, rows 26–27; highlight in row 25.
- Right black pupil: column 38, rows 26–27; highlight in row 25.
- Nose: row 36, columns 29–30, plus row 37, column 30.
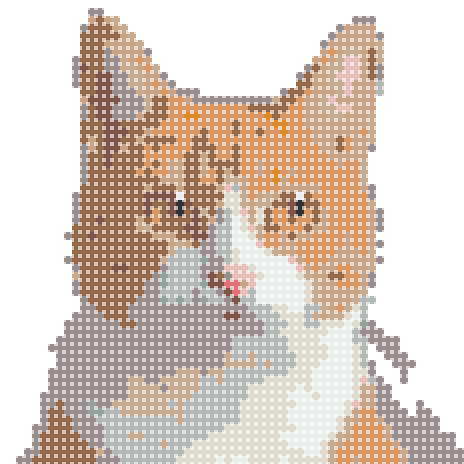
The refined result has 58×58 cells, 14 colors, and 2066 beads. The automatic 12-color limit applies to conversion. Adding black and salmon manually increases the actual material list to 14 colors, so use the final count when preparing beads.
5. Check materials and board size
A 58×58 grid typically uses four compatible interlocking 29×29 square boards. Empty cells receive no beads; multiplying canvas dimensions is not the final bead count.
The refined version uses 1298 fewer beads than the large automatic result, but 2066 beads still take considerably longer than a small beginner pattern. Sort from the final list, especially the larger light and ginger areas and the added P02 Black, P01 White, and 80-15204 Salmon.
For brand color IDs and substitutions, read the Perler bead color code guide.
6. Check the outline and display direction before exporting
Inspect both ears, the positions of the eyes and nose, and whether the finished silhouette connects. If the reverse will be the display side, choose a mirrored making chart when exporting.
Export PDF or PNG, then verify grid size and the material list before placing beads. A photo conversion still needs human judgment. This is one reproducible example, not a promise that every pet photo works with the same settings.
FAQ
Why are there 14 colors after choosing a 12-color limit?
The limit applies to the automatic result. This example then adds black pupils and a salmon nose manually, so the final 14-color list is the one to use.
Why does background removal reduce the bead count so much?
The opaque original maps every cell to a bead. Removing its background leaves empty cells that no longer count as materials.
Should I copy these eye coordinates for my own photo?
Only the exact same source, crop, and grid size share these coordinates. Refine your own photo according to its actual features instead of copying them blindly.
Try another image
Return to the photo-to-pattern guide for general settings. For a quicker first project, choose one of the eight original small patterns.