Creative Ways to Display Pixel Art: Don't Let Them Collect Dust
Turn your finished beads into functional art. Here are 5 creative ways to display and use your masterpieces.
바로 따라 만들기
에디터에서 도안을 만들거나 공개 갤러리에서 연습할 도안을 선택하세요.
Display Guide: From Desk Clutter to Art
The most common question after finishing a project is: "What do I do with this now?" Instead of throwing them in a drawer, turn your pixel art into functional daily items. Here are the best ways to display your work.
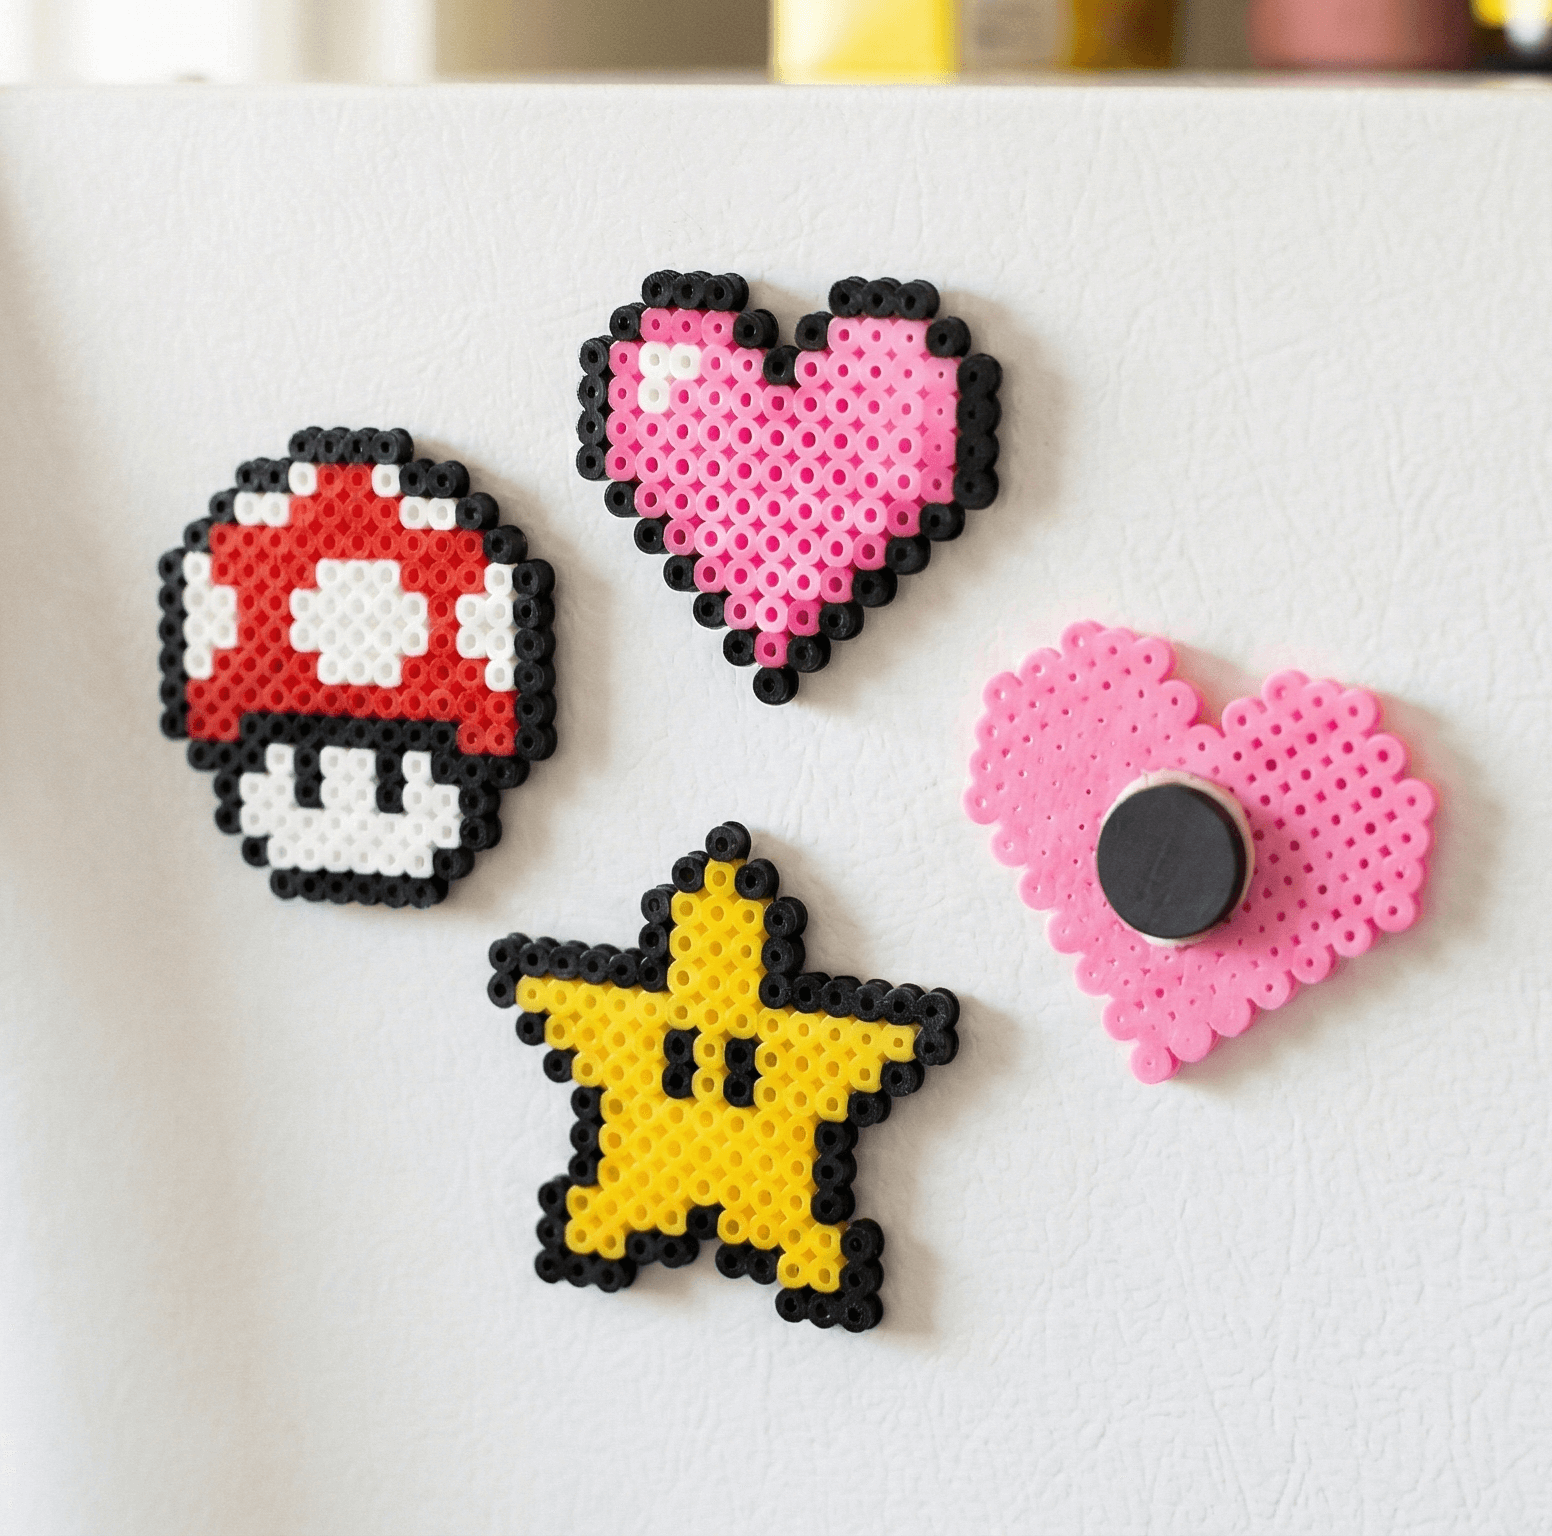
1. Fridge Magnets
The classic choice. Turn your pixel art into kitchen decor.
How to do it:
- Magnets: Buy self-adhesive magnetic tape or small round magnets.
- Glue: If using standard magnets, use E6000 or hot glue for a permanent bond.
- Tip: For larger pieces, use multiple magnets to prevent them from sliding down the fridge.
2. Keychains and Bag Charms
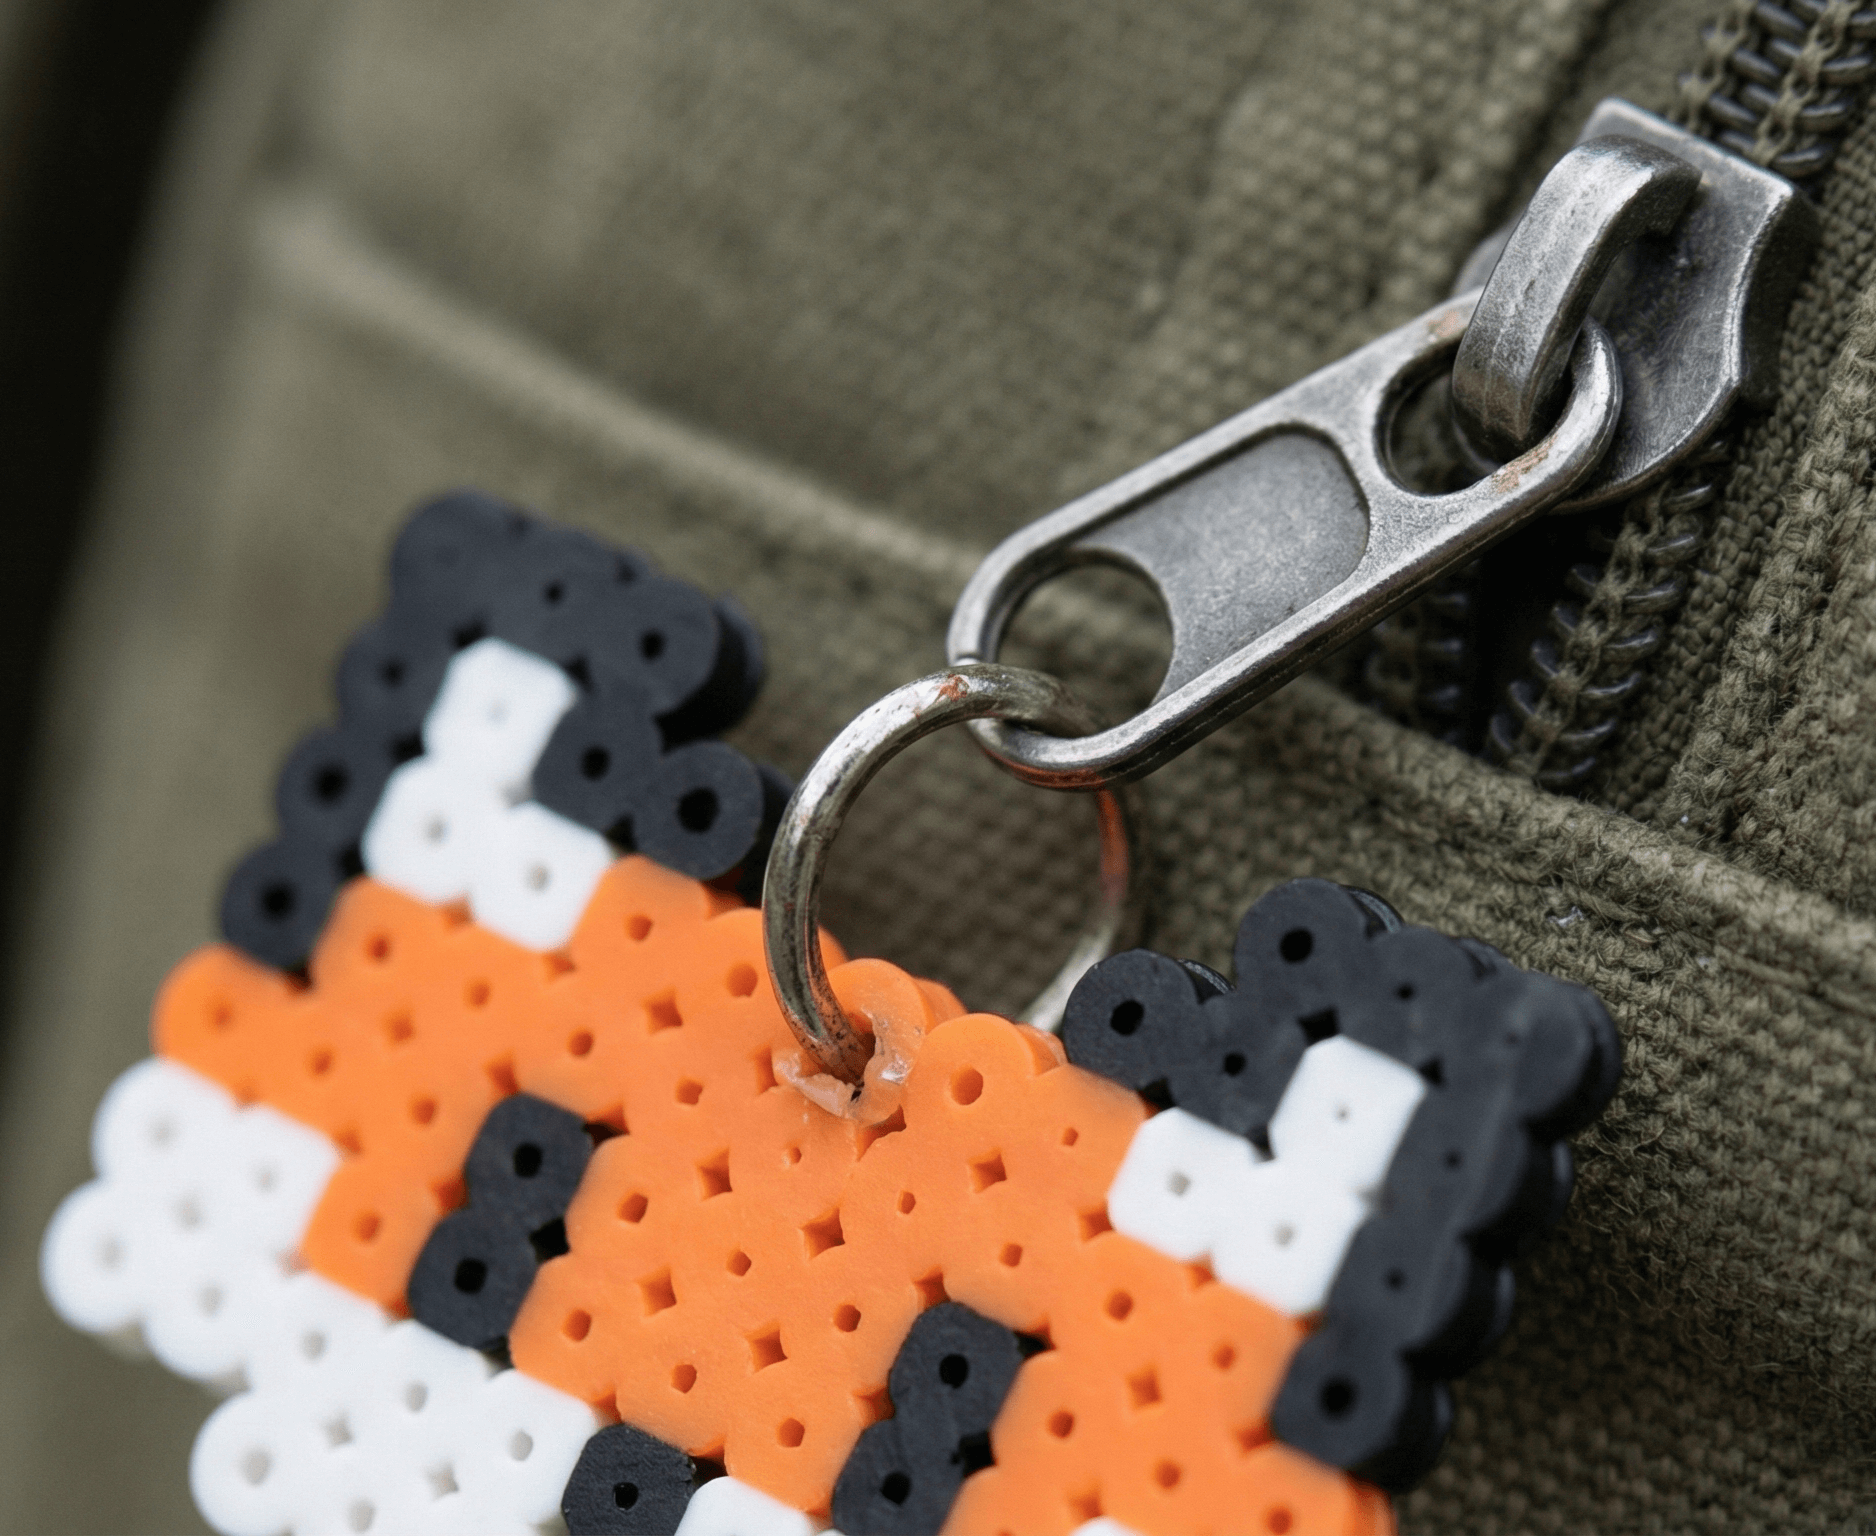
Show off your hobby on your backpack or keys.
Material Recommendation:
- Use Soft Beads: We highly recommend using Artkal R-Series (Soft Beads) for keychains. Hard beads (like Perler) can snap if they get caught or bent in your pocket. Soft beads are flexible and virtually indestructible.
Connection:
- Jump Rings: Use pliers to open a small metal jump ring, thread it through the top bead hole, and then attach your keychain loop. Don't force the thick keychain ring directly into the bead.
3. Framed Art
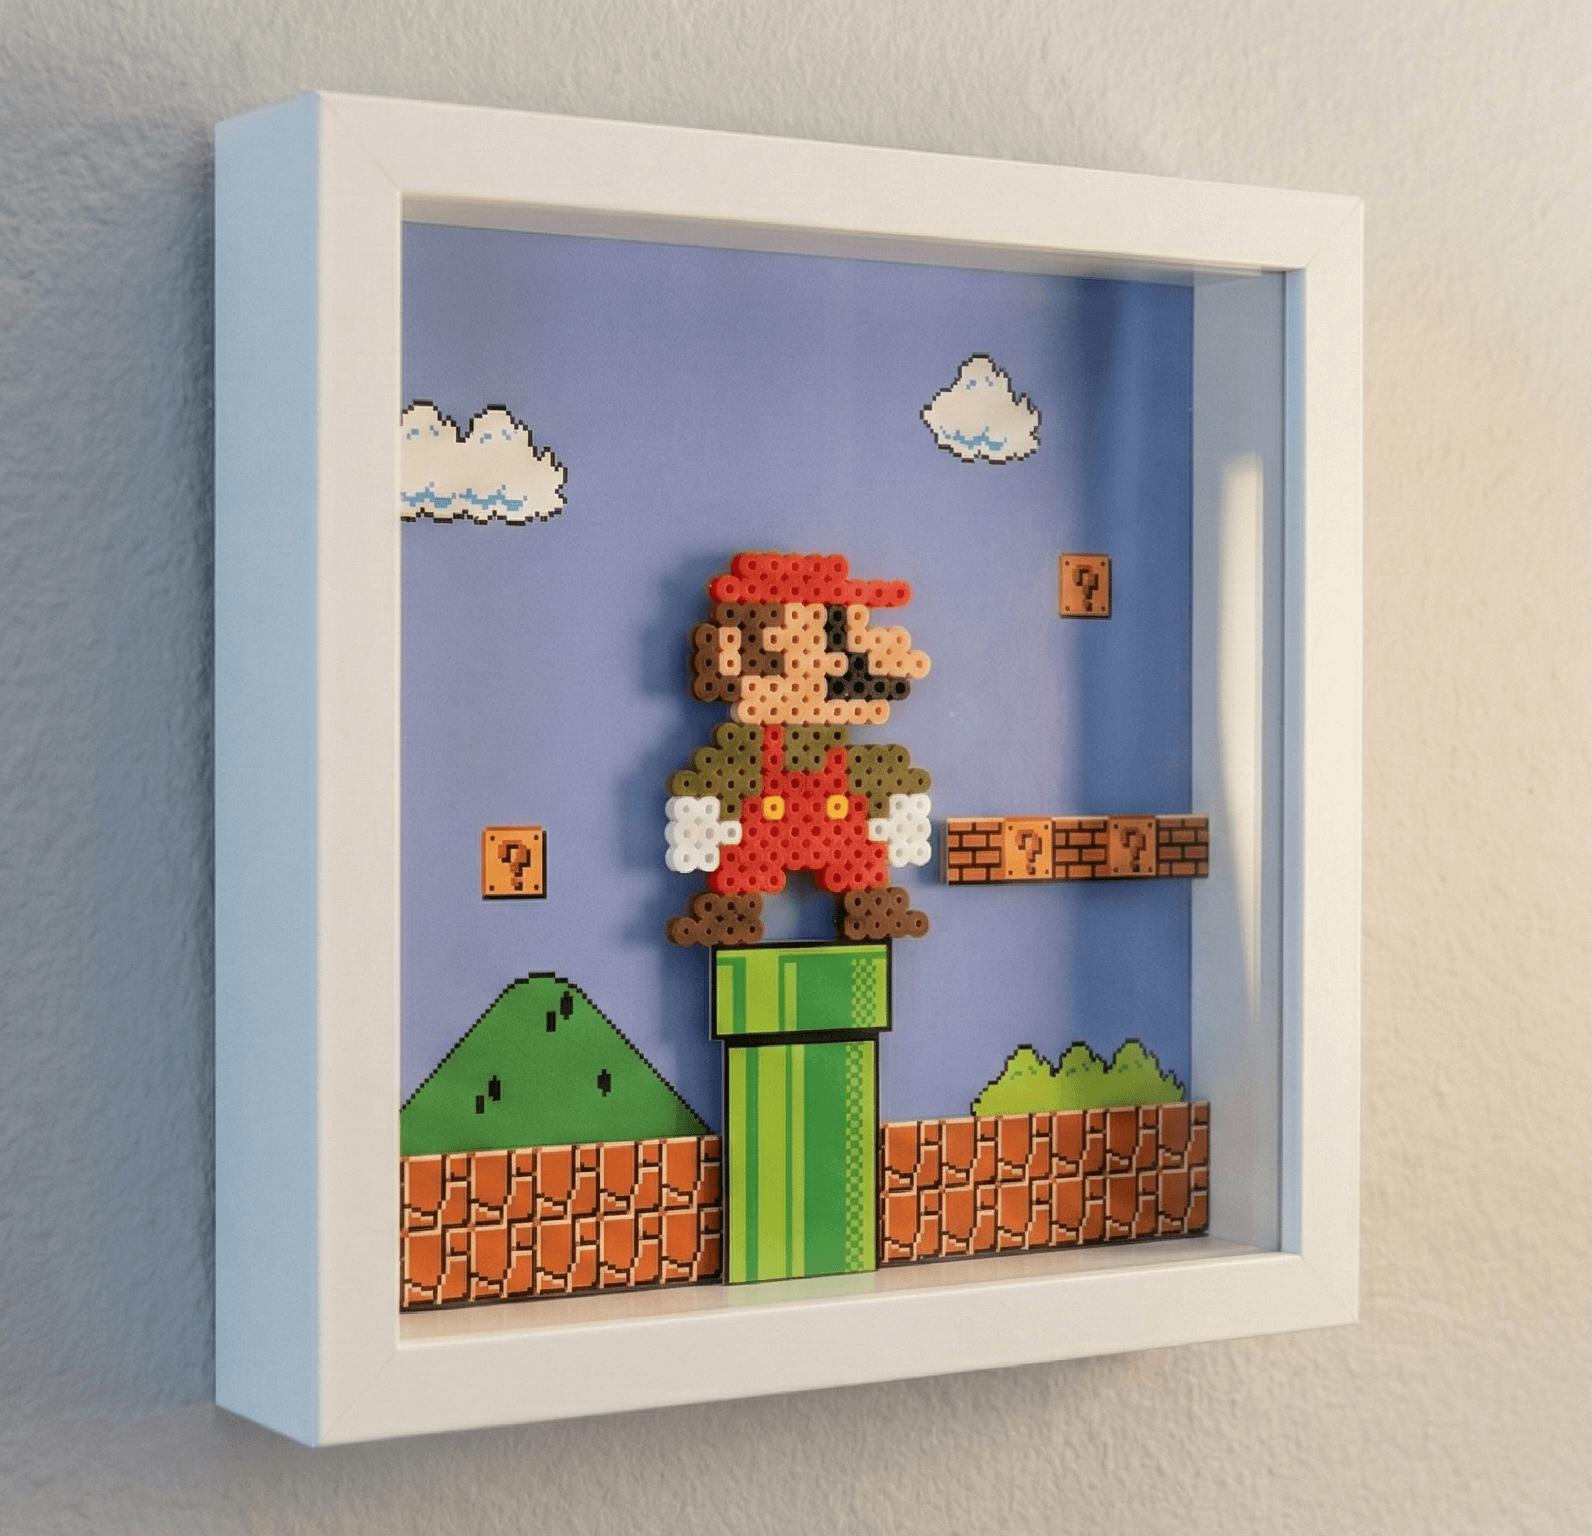
Elevate your sprites into proper wall art.
Design Ideas:
- Game Scenes: Print out a screenshot of a game background (e.g., a Mario level) as the backing paper. Glue your bead character on top to create a 3D effect.
- Shadow Boxes: Use deep shadow box frames. The depth adds shadows and makes the pixel art pop.
4. 3D Stands (The Slot Method)
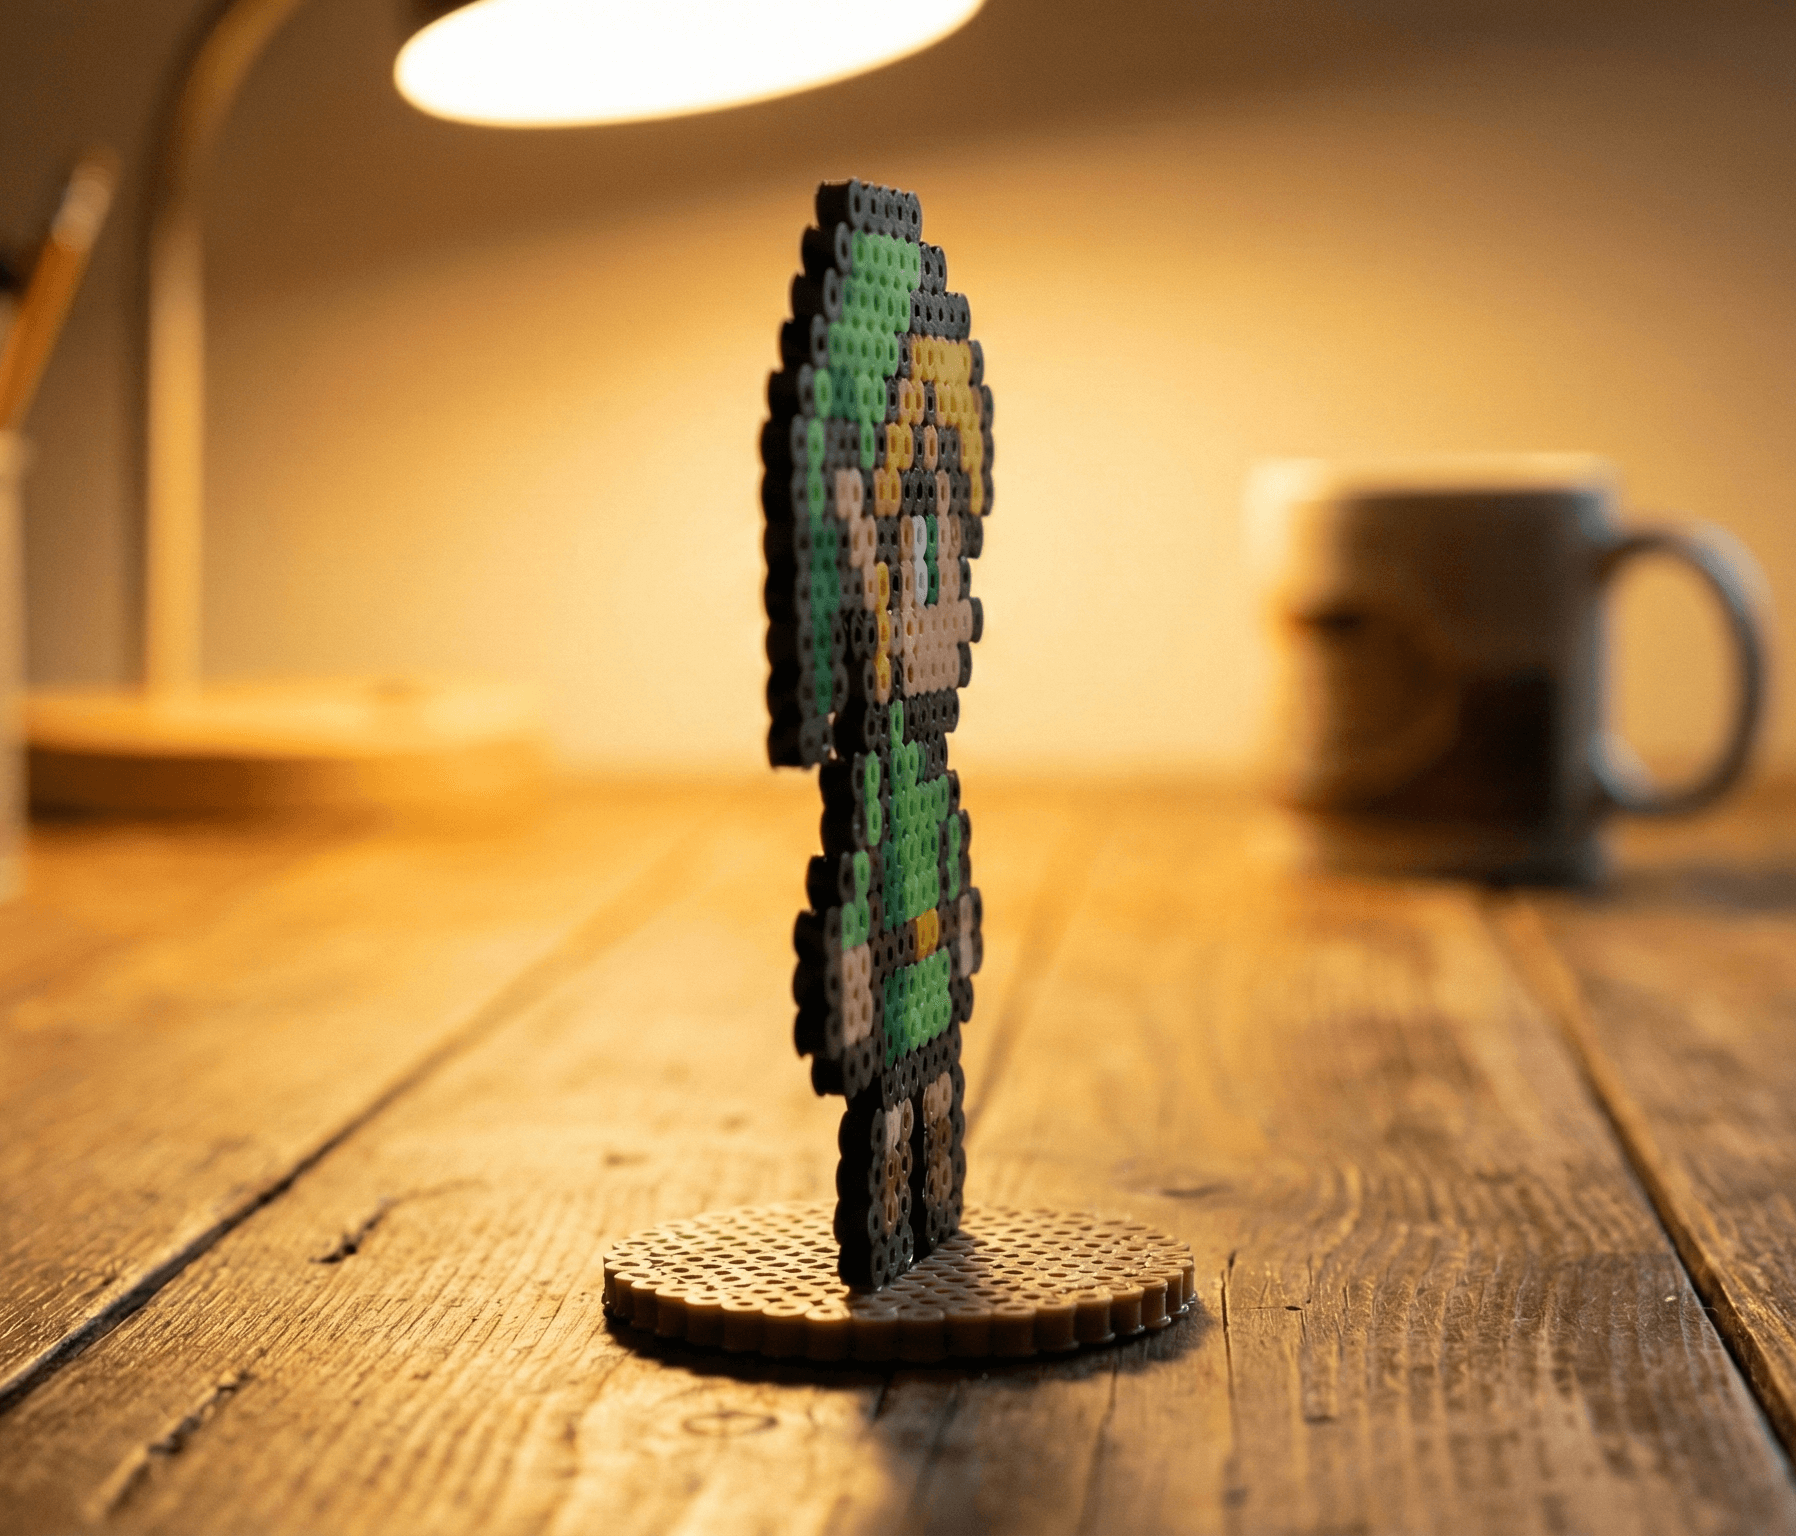
Make your characters stand up on your desk instead of lying flat.
How it works:
- The Base: Create a simple round or square base with beads. Leave a gap in the middle that is exactly 1 bead wide.
- The Body: Ensure your character has a flat bottom edge or a protruding tab.
- Assembly: Simply slot the character into the base. If it's wobbly, a tiny dab of hot glue or blue tack will secure it.
5. Functional Items
- Coasters: Make a circular magic circle or a floppy disk design. They make perfect heat-resistant coasters. (Make sure to iron them flat!)
- Plant Pot Decor: Glue a popsicle stick or wire to the back of a sprite and stick it into your succulent pots.
- Cable Winders: Create a bone-shaped design to keep your earphone cables organized.
FAQ
What glue works best for displaying Perler bead projects?
Hot glue or clear craft glue works for light displays. For keychains or pieces that carry weight, add jump rings, a backing board, or a stronger connector instead of relying on a tiny glue spot.
Can Perler bead pieces become keychains?
Yes. Choose a small or medium design, leave a reinforced edge for the connector, and use a split ring or small eye pin. Very large pieces bend more easily on bags.
How do I keep finished Perler bead art flat?
Press the project while it cools after ironing, then mount it on a rigid backing or frame. Large pieces stay flatter when they are supported instead of hanging freely.
Next step
If you need a design to display, browse the pattern gallery or create one in the editor. For more visual ideas, see Perler bead designs. Before mounting a large piece, review how to iron Perler beads and the tape method tutorial.